Mfr Part # 28009
EXPERIENTIAL ROBOTICS PLATFORM (
SparkFun Electronics
License: General Public License 3D Printing Displays LCD / TFT Magnets Microcontrollers Motors Pushbutton Stepper Switches
Chess was invented around 1500 years ago and is one of the oldest board games in existence. We decided to take a modern approach to chess with an automated chessboard and electronic-themed pieces. This chessboard can play famous chess games or just have computers battling each other all day for your enjoyment!
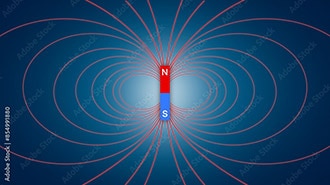
We are using an electromagnet under the chessboard, attached to a 2-dimensional gantry, to move the pieces around. To start, we create a mechanical design for our gantry based on CoreXY kinematics. To do that, we have to understand the CoreXY gantry system. The CoreXY gantry system has both X and Y motors stationary and on the same plane. Instead of each motor controlling only one axis directly, the belts are routed in a special crossed pattern so that the movement of one motor moves the electromagnet diagonally, and the coordinated movement of both motors allows precise control of X and Y positioning. This design reduces the moving mass since the motors don’t travel with the gantry, allowing for faster and more efficient motion while maintaining accuracy.
CoreXY | Cartesian Motion Platform
We have to design the CoreXY gantry with extrusions, 3D prints, belts, pulleys, idlers, and a linear rail. We first have to make a square out of the extrusions, and then we use 3D printed brackets to hold it together. After that, we put on the carriages, which have 3D printed wheels with bearings inside to roll across the extrusion. These carriages are connected with a linear rail between them to allow for movement forward and backward, as well as left and right.
One major challenge we had was getting the right tension for the linear rail with the carriages. If it were too tight, then the wheels wouldn’t spin, and there would be too much friction. If it were too loose, then the linear rail would wobble and not be straight when moving, causing accuracy issues. To solve this issue, we only had wheels on the outside of the extrusion on each side and made sure they were tensioned tightly, which allowed them to move smoothly while being tensioned properly.
Now it's time for the most important part, which is the belt setup. The belts on each of the motors go around the square using idlers and connect to the middle of the linear rail on one side. On the other side, it goes around 1 idler and connects to the middle of the linear rail. When this is all connected, we can now use the equations for moving the electromagnet where we want to go.
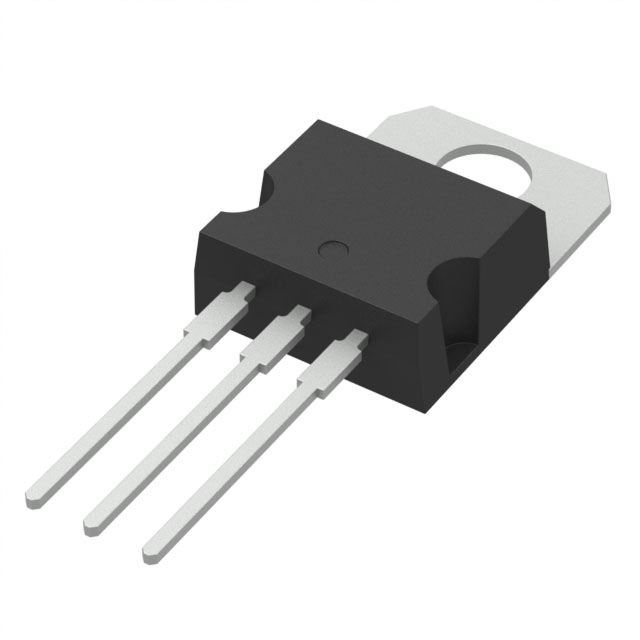
Now that we have a functional CoreXY gantry, it's time to make it move electronically. We will be using an XRP robotics board from SparkFun, which is equipped with a Raspberry Pi RP2350 microcontroller as the brains of the operation. The motors are 12V stepper motors driven by EasyDriver motor controllers from SparkFun. All of that is powered by a 12V power supply and a 5V buck converter. An electromagnet is hooked to the XRP using a transistor.
Now we should keep in mind some careful circuit design considerations. The electromagnet works off 5V, but since our main power source is 12V, we use a buck converter to step it down.
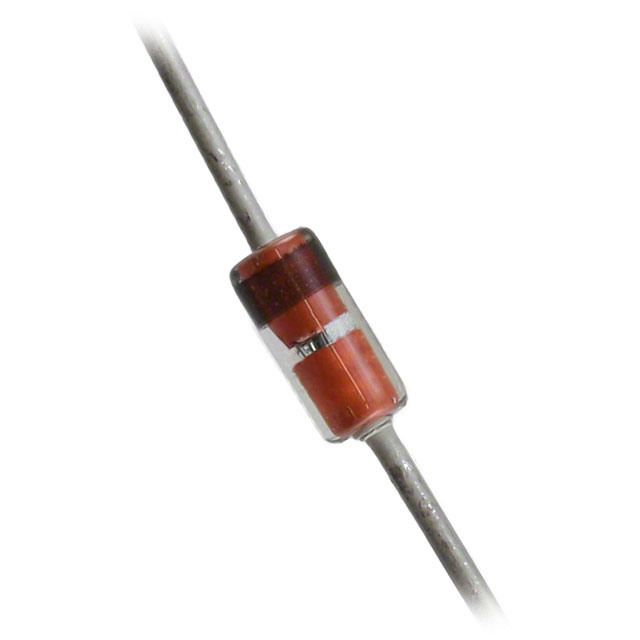
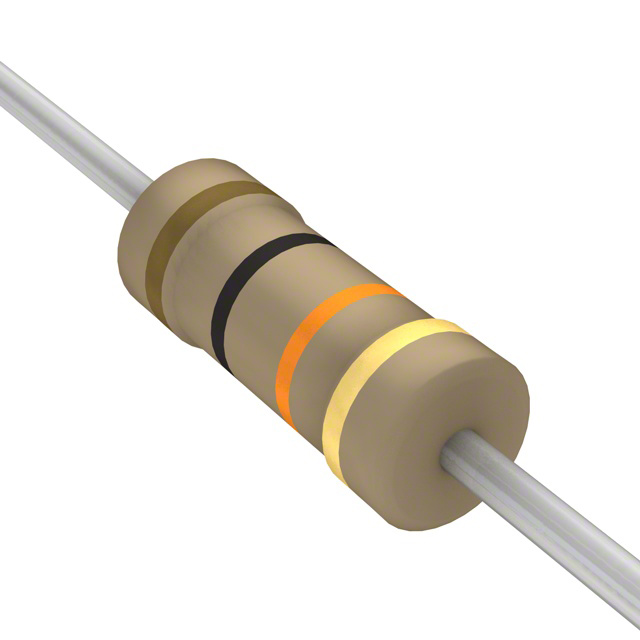
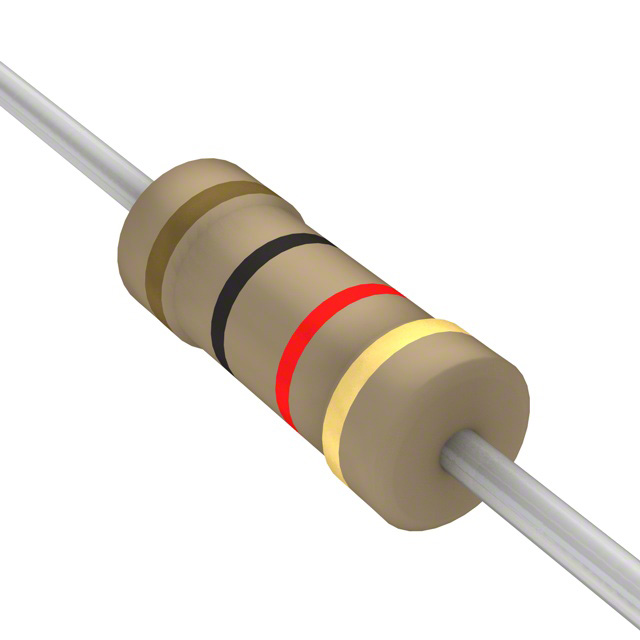
We can’t power the electromagnet directly from the GPIO pin because it needs more current than the pin can handle, so we use an NPN transistor as a switch. The GPIO signal goes through a resistor to the base of the transistor, which allows the constant 5V from the buck converter to turn on and off for the electromagnet. A flyback diode is placed across the electromagnet to protect the transistor from negative voltage spikes when it switches off.
Now that we have the electronics integrated into the gantry, it's time for code! First, we will start by putting together the movement functions. We are coding the XRP board with the Arduino IDE, and we are going to be creating classes for all the movement functions to allow for easy implementation when we make it play chess.
To implement the code, we use the equations of motion for the CoreXY system from before to move the gantry how we want. Using this method, we can have the pieces move in a straight line, an L shape, and diagonally, which covers the moves on a chessboard. To get the pieces to go in between other pieces (like in the case of a knight), we have the piece move a half chessboard square to the left or right and then move around the board. This allows all the pieces to be able to move between all other pieces in any scenario.
We need a place to put the captured pieces somewhere out of the way during the game. We will put the captured pieces on the outsides of the board, so now the 8X8 chess board becomes a 10X10. All around the board, the chess pieces are lined up when captured, which allows the board to automatically reset the game.
Now that we know it has to go in the 10X10 grid, we can add limit switches to the X and Y axes, so we know the boundaries of the board. The gantry will start with a homing sequence where it first moves to the X limit switch and then moves directly to the Y limit switch.
We have the board laid out, the baseline movements needed, and a capture zone. Now we can implement the chess engine. The engine is based on the Micro-Max chess algorithm, made by Harm Muller, a program known for being computationally light, perfect for embedded processors like the XRP’s Raspberry Pi RP2350. The next step is to make the chess engine play computer vs computer games.
One specific problem we have to fix is that when the chess engine plays itself, it always plays the same game. This is because it always chooses the best move possible on both sides. To fix this issue, we need to edit the chess engine to make it randomly choose from a few moves that are all considered relatively equal. This fix allows for a unique computer vs computer game to be played each time! Note that there is a tradeoff here; although game variability has increased, the strength of the engine has slightly decreased. Throughout the coding process, we can debug by printing the board state to the serial monitor.
Another major problem we had was the friction on the chessboard. Each piece is made with a small hole in the bottom for a neodymium magnet, which is then covered up by some fabric. The polycarbonate on the top of the board didn't have low enough friction with the pieces, so sometimes the magnet dropped them. We spent a lot of time testing with different materials and came to the conclusion that MicroPolyester on the bottom of the piece interacted the best with the polycarbonate.
Now that the Game code is working, we can add a UI using an LCD screen, easily connectable via the onboard Qwiic connector. We add 2 buttons to help the user navigate the UI and to add pause and reset functionalities to the board.
The code for the LCD screen and the buttons should be relatively simple. The code is based on the SparkFun SerLCD Arduino Library, with some custom modifications. We can have a function that prints a string centered on the display. We also specify which line of the LCD we would like to have the string displayed on.
After adding the UI with the LCD and buttons, we now have a fully functioning electromagnetic chessboard!
View videos
Tempo, Tactics, and Torque- Building a Robotic Chessboard Part 1
From Code to Checkmate- Building a Robotic Chessboard Part 2
If you’re interested in learning more about the full code used, here is a link to the GitHub repository
https://github.com/vincentbkrenz/DigiChess