Introducing the Ultimate USB Type-C Switch: Bi-directional, Computer-Controlled, and Open Source
Here at Codethink, we have been working for numerous customers on improving their build, integration, and test pipelines for well over a decade.
Part of this work is the automation of testing for complex embedded systems, such as entertainment systems for cars. We were looking for a USB switcher that could simulate the plugging in and removal of mobile phones and storage devices for such a system. We couldn’t find anything on the market that was affordable enough to recommend buying hundreds of them for our customers, so we decided to build our own.
 (Image source: Codethink)
What is it?
To put it simply, it’s a device that can unplug, replug, and switch wired connections between USB C devices programmatically. The switch is designed to have fully functional USB C ports. This means that all of the features and capabilities of a typical type C port are present like charging, high-speed, and super-speed data transfer. Having bi-directional capabilities allows users to choose which port connects to the, host and the opposite enabled port automatically gets configured to connect to a peripheral. This ensures safety and ease of operability.
What can you use it for?
This switch is a plug-and-play solution for anyone who wants to:
- Streamline connections between multiple hosts and peripherals.
- Automate testing that requires different peripherals that connect to a host, one at a time. One could use hubs with the switch to switch connections between multiple peripherals and a host.
 (Image source: Codethink)
How do you control it?
Simply connect the switch to your laptop via a USB C cable. Connect to the switch’s CDC serial port using your tool of choice and echo one of the control commands to the serial port to start switching.
How much of the project is open source?
The hardware is completely open source and it was designed using KiCAD 6.
The currently available firmware is free to use but uses ST’s toolchain and libraries so we can’t call it free software (just yet). We’re working on porting the firmware to libopencm3 which will allow us to license it freely.
We designed a case that can be 3D printed to keep your switch secure. The STL files for the case are licensed under CC by SA 4.
 (Image source: Codethink)
Want to get a few switches for yourself?
Contact our sales team to learn more about how we at Codethink can help you integrate this switch into your hardware and software test routine.
If you want to build one yourself, all it takes is a few clicks. Just follow these simple steps:
- Hardware:
- Clone the hardware repo.
- Upload the Gerber, BOM, and placement file from the production folder to a board house’s website of your choice.
- Order as many as you want!
Once you have the hardware for the USB switch, it’s time to flash the firmware.
- Firmware:
- Build the firmware on your local machine by cloning the firmware repo and following the build steps in the README.
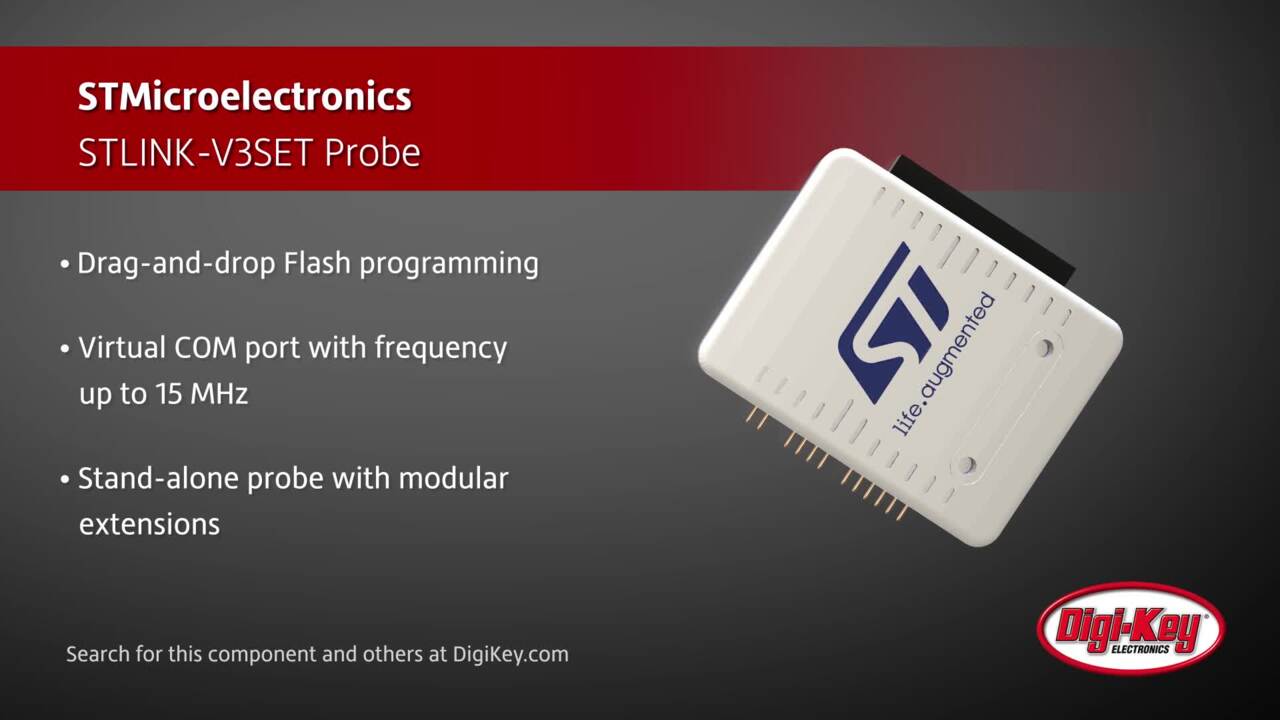
- Connect the programmer (ST-LINK) to the SWD port and use the ST CUBE programmer to flash.
Case files can be found in the hardware repo under the case folder. You can 3D print them using the provided STLs or order them online too!

Have questions or comments? Continue the conversation on TechForum, DigiKey's online community and technical resource.
Visit TechForumRelated Blogs