製造商零件編號 SC0873
RASPBERRY PI CAMERA 3 NOIR
Raspberry Pi
License: See Original Project Raspberry Pi SBC
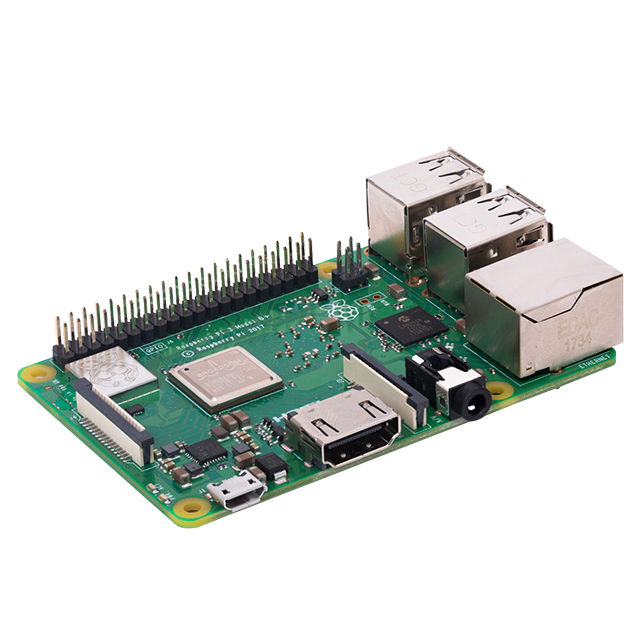
A recent project of mine was to get Frigate NVR set up and running. With the NVR setup complete, my next step was to get some more camera feeds set up. Since I already had some Pi’s running around my house, such as my Raspberry Pi flight tracker, and Raspberry Pi recently launched their new camera module 3 product series, it was a no-brainer to make use of the Pi I already had for this.
In this project, I’ll explain how I was able to use various Raspberry Pi’s and cameras to create RTSP (Real Time Streaming Protocol) camera feeds that I could integrate with Frigate. This process works on essentially all modern Pi’s that have wifi, from the original Zero W to the most recent Raspberry Pi 4, and operates minimal CPU load, so you likely won’t need any heatsinks or fans for processor cooling. Additionally, this works with the official v2, v3, and HQ cameras (I don’t have an original v1 camera module to test) as well as third-party cameras that connect via the CSI port, such as the Arducam 16MP autofocus camera.
Setup the Operating System
Like most Raspberry Pi projects, you begin by flashing your microSD card with the Raspberry Pi operating system using the Raspberry Pi Imager. For this project, we will use the Raspberry Pi OS Lite (32-bit) operating system found under the Raspberry Pi OS (other) category.
Before flashing the SD card, open the advanced options by clicking the gear icon.
From the advanced options window, set your device’s hostname and password, enable SSH, configure your wireless LAN, and select your locale settings. Then write the operating system to your SD card.
Once the software is written to the microSD card, remove the card from the PC and install it 0n the Pi. Connect the flat flex cable of your camera to the Pi’s CSI connector, and power up the Pi.
Install and Configure RTSP Simple Server
With your Pi booted, we need to connect to the Pi via SSH to install the camera server software. Using a program such as PuTTY or Tera Term, open an SSH connection to your Pi using the hostname you previously assigned followed by “.local”. In my case, I can connect to my Pi at PiFrontyardCam.local.
Once logged in, use the following command to update the package database, install any new packages that are available, and reboot the Pi.
sudo apt update && sudo apt -y full-upgrade && sudo reboot
When the Pi finishes updating and reboots, reconnect via SSH and verify your camera is recognized:
v4l2-ctl --list-devices
If your camera is recognized, you should see an output similar to the below image.
If you don’t see something along these lines, your camera was not recognized. Ensure the camera cable is properly seated in the flat flex connectors on the Pi and camera board and that the cable is oriented correctly so the contacts of the cable are in proper contact with those of the connector. The blue backer should face the connector latch.
With your camera properly recognized by the Pi, we can download the latest release of rtsp-simple-server from the official GitHub repository. You can download the 32-bit version for Raspberry Pi OS Lite by running the following. If using a Raspberry Pi 3, 4, or Zero 2W, use the ARM v7 as shown below, but if using the original Pi Zero W, you should download and install the package for ARM v6. Note that at the time of writing, the current version is 0.21.4. If a newer version is available to you, you should update the following commands to install the latest version.
wget https://github.com/aler9/rtsp-simple-server/releases/download/v0.21.4/rtsp-simple-server_v0.21.4_linux_armv7.tar.gz
Extract the contents of the downloaded archive:
tar -xzf rtsp-simple-server_v0.21.4_linux_armv7.tar.gz
Create a directory in a suitable location to house the binary, such as /usr/local/bin:
sudo mkdir /usr/local/bin/
Move the rtsp-simple-server binary to the newly created directory:
sudo mv rtsp-simple-server /usr/local/bin/
Make the rtsp-simple-server binary executable:
sudo chmod +x /usr/local/bin/rtsp-simple-server
Configure rtsp-simple-server to receive the RTSP feed from the Raspberry Pi:
nano rtsp-simple-server.yml
Edit the source within the paths section of the file, change “all:” to “cam:” and the source to rpiCamera.
With the source changed, press CTRL+X to exit, “Y” to save changes, and ENTER to keep the original file name.
Start the rtsp-simple-server by running:
rtsp-simple-server
If you are not presented with any errors, use VLC running on another device on the local network to verify the stream is working properly. If you don’t have VLC installed, you can download and install it from here: https://www.videolan.org/vlc/
Open VLC and press CTRL+N to open the network stream dialog. Type in the stream URL as “rtsp://<hostname>.local:8554/cam” and click play.
After a couple seconds, you should be presented with the live video stream from your Raspberry Pi camera.
While this works as intended, you will notice if you press CTRL+C in the Pi’s terminal, the stream will stop. Obviously, this is not optimal - we need the RTSP server on the Pi to start automatically on boot, so we don’t have to SSH in to start the stream whenever the Pi reboots. To do this, we will create a service to launch the server automatically.
Run the RTSP Server as a Service
Move the rtsp-simple-server yaml configuration to a suitable location, such as /usr/local/etc:
sudo mv rtsp-simple-server.yml /usr/local/etc/
Create a new service unit file for rtsp-simple-server:
sudo nano /etc/systemd/system/rtsp-simple-server.service
Add the following to the file:
sudo tee /etc/systemd/system/rtsp-simple-server.service >/dev/null << EOF [Unit] Wants=network.target [Service] ExecStart=/usr/local/bin/rtsp-simple-server /usr/local/etc/rtsp-simple-server.yml [Install] WantedBy=multi-user.target EOF
CTRL+X, “Y”, and ENTER will save our changes and close the file.
Reload the Systemd daemon to load the new service unit file:
sudo systemctl daemon-reload
Enable the rtsp-simple-server service to start on boot:
sudo systemctl enable rtsp-simple-server.service
Start the rtsp-simple-server service:
sudo systemctl start rtsp-simple-server.service
Verify that the rtsp-simple-server service is running by checking its status:
sudo systemctl status rtsp-simple-server.service
If you receive no errors, you can reopen the stream from VLC the same as before and view the stream is working. Your Pi camera will now automatically start the video stream whenever it is booted. Use the same network stream URL to add this new camera to Frigate NVR, or for any other application for which you would use an IP camera.
If you notice your video stream is not working well with Frigate, you can try changing the fps (frames per second) to 5 in your nano rtsp-simple-server.yml file, which is the fps recommendation for Frigate video sources. You can also make adjustments to the rpiCameraWidth and rpiCameraHeight settings within that same file. To check the default resolutions your camera supports:
libcamera-hello –list-cameras
Summary
Creating a streaming camera using a Raspberry Pi is relatively simple using the rtsp-simple-server software. The software runs well, even on the relatively low-power Pi Zero line, and its low resource usage means that a Pi typically does not require any additional cooling. The software works well with CSI-compatible camera sources, including the newest Raspberry Pi Camera Module 3 line and the video stream it creates can be easily integrated with an NVR or used for live web streaming.