Make a Custom Membrane Keypad for Arduino
2016-09-09 | By Paul Bleisch
License: None Arduino
DIY projects are fun because you get to discover and deconstruct devices, see how they work, and rebuild them to suit your own specific needs. For this project, we will make a four-layer membrane keyboard designed to be resilient and reliable.
The Layers
Front Decal - images of the buttons.
Top Foil - links the rows of buttons together and provides pads onto which to connect the wires. This layer is placed opposite the front decal layer.
Bottom Foil - this layer contains traces linking the columns of the buttons together and provides pads. The bottom foil layer is the inside of the back of the keypad.
Cutout - sandwiched between the top and bottom foil layers, the cutout provides just enough separation to prevent the row and column traces from shorting when a button is not pressed.
As a basis for your keypad, illustrator software can be used to create and print a pattern similar to what can be seen below. The decal layer uses a 4×4 matrix arrangement with some custom graphics. After printing each layer, you now have the templates to which you can attach the traces. The thickness of the keypad is also something to consider, because you won’t want your keypad to be too thick. Copper foil tapes solve this issue. Foil tapes are commonly used in wearable electronics and are fairly easy to use. One side is sticky and the other side is conductive foil. Connect two traces together by overlapping the tape.
Masking tape can be used for places you need multi-layer traces. At the bottom, row and column traces are pulled off the keypad using jumper wires. They are attached using the same copper foil tape.
The bottom layer is much easier, as can be seen from the lower half of the images. Simply glue the cutout layer on top of the base layers. Final construction of the keypad involved gluing the decal layer to one side of a piece of cardstock and the top foil layer to the other side. Further glue the foil cutout layers to another piece of cardstock. Final assembly of the keyboard is to glue the two assemblies together. The cardstock cutout will provide just enough distance to make a connection when the button is pushed.
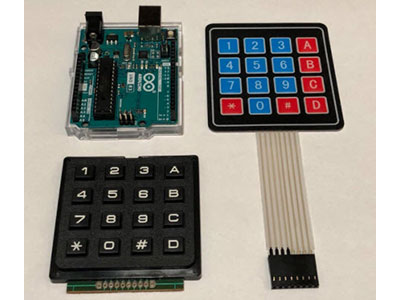
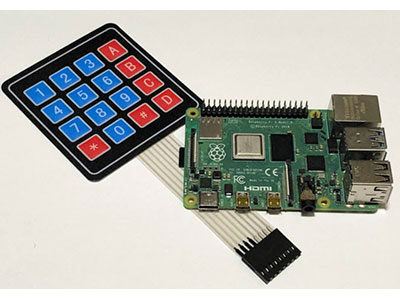
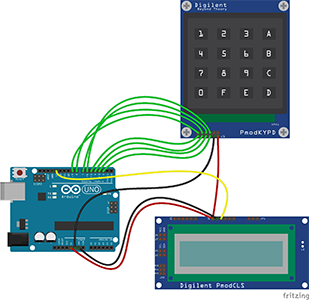
Connect your keypad onto an Arduino board, upload the code and check for all of the proper connections. A breadboard and jumper cables will be useful in this stage of the project, as you might have a lot of testing and wiring to do to perfect the device. Driving the keypad itself is simple enough since Arduino has an available Arduino Keypad library at your disposal. At this point, you should have a fully functional keypad you can use anywhere you like!
Source: http://paulbleisch.com/blog/2015/01/19/custom-arduino-membrane-keypad/