Mfr Part # 5183
DHT20 - AHT20 PIN MODULE - I2C T
Adafruit Industries LLC
License: Public Domain
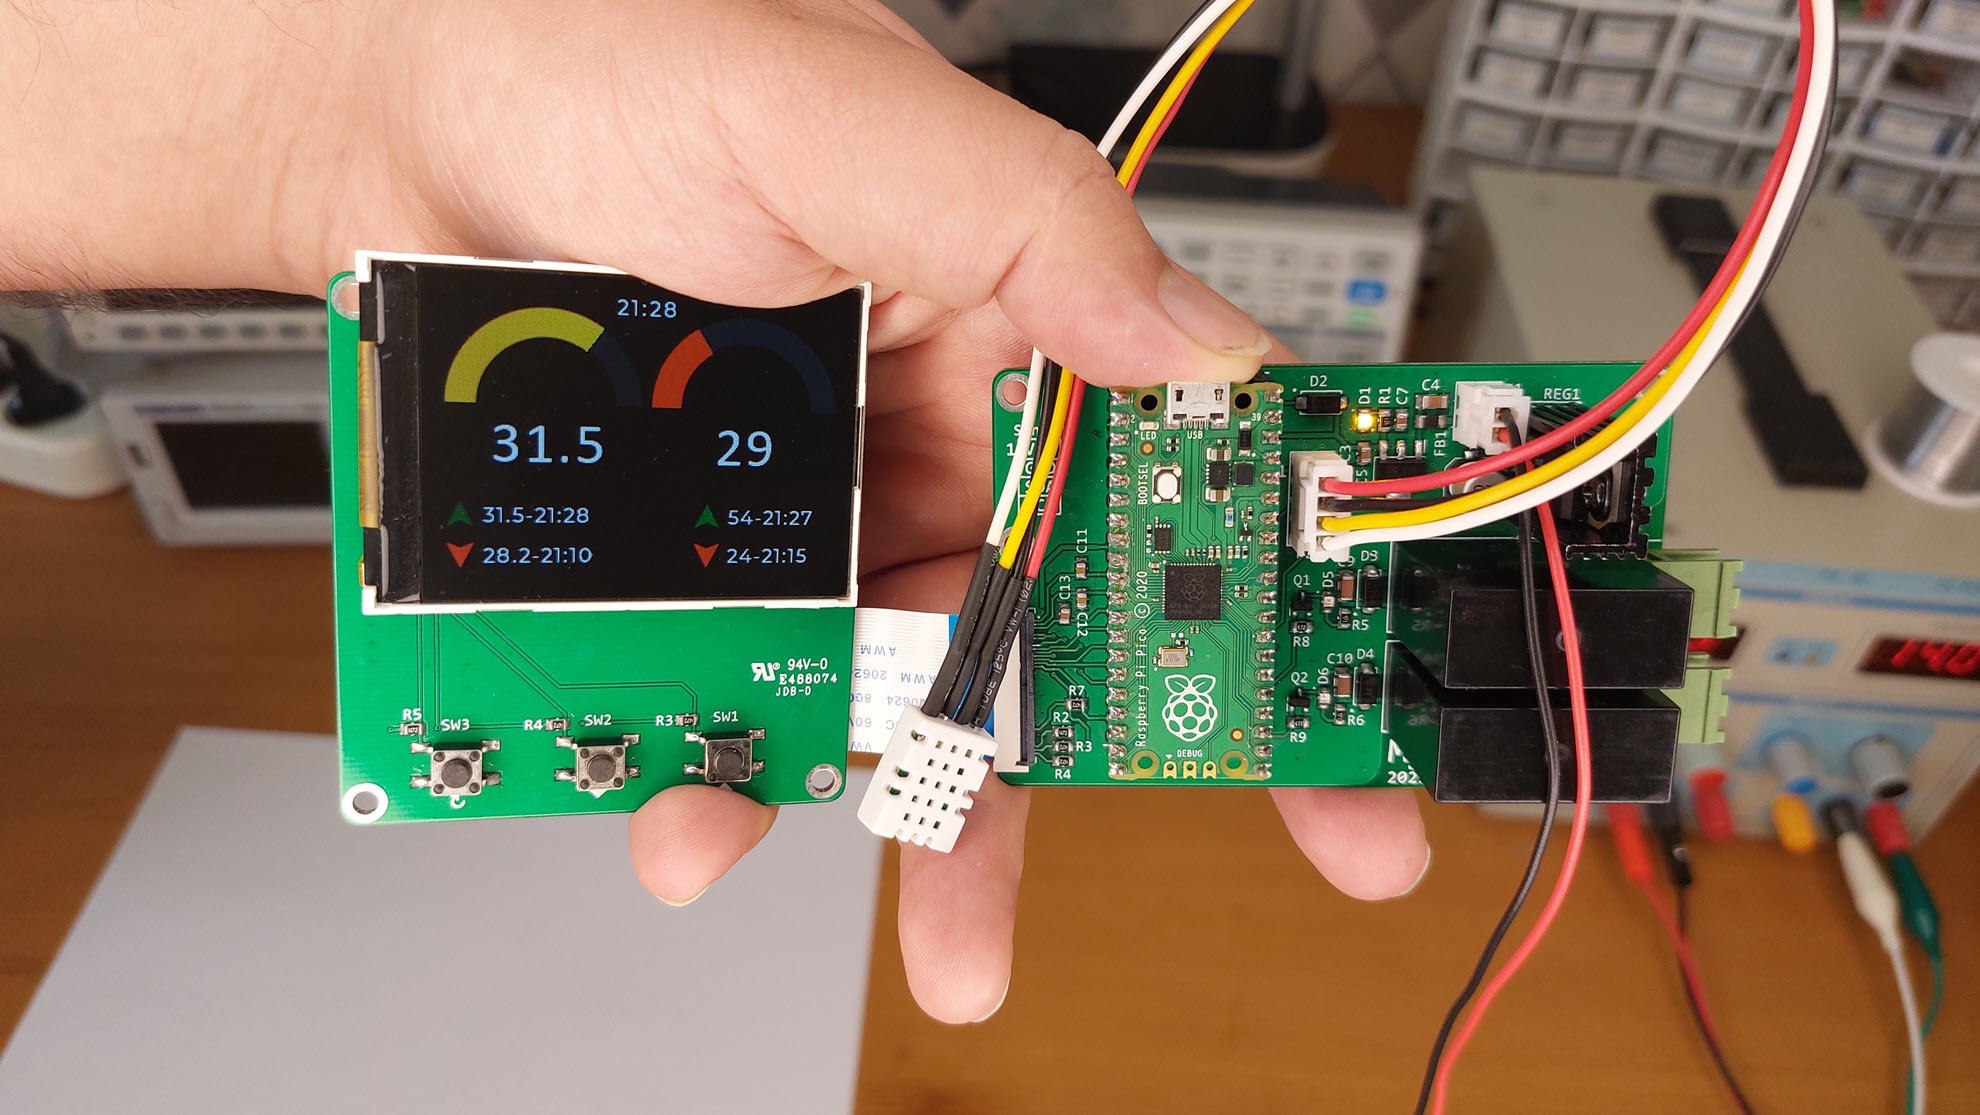
Something that I worked on throughout the school year was a program at UC Irvine called Open Project Space (OPS). Throughout my time in the program run by our IEEE club, we were exposed to a myriad of embedded systems projects and parts through it. One of my favorite projects has got to be the weather station device that we made–complete with wireless communication and an LCD to display the current temperature, humidity, and whether or not there is daylight. The crown jewel to get this project up and running was the DHT11: a temperature and humidity sensor.
What is the DHT11?
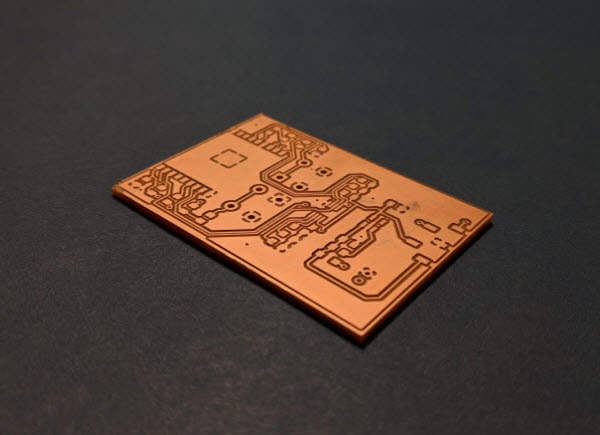
The DHT11 is a component that will measure the temperature (how hot or cold it is) and humidity (moisture in the air) and return it as a digital numerical value to your desired microcontroller. Typically, you can get it mounted on either a PCB or just by itself. The PCB has a built-in 10k ohm resistor for the signal, so you won’t have to add one yourself.
Temperature is measured through a thermistor–a resistor whose resistance is dependent on how much the temperature changes. I’ll be creating a sensor that will detect the concentration of a solute in a solution along with the conductivity later with a similar concept, but the idea is that we can translate the resistance (or voltage signal) into a digital value (via an analog-to-digital converter, or ADC) for our microcontroller.
The humidity is measured by a capacitive sensor that will return a value based on the dielectric constant of a certain material. This material is usually hygroscopic and changes dramatically with a difference in moisture. The more moisture, the more the capacitance will change, and a time-based response (that relies on how long it takes to fully charge the capacitor) will be generated from this variation.
How Can I Use the DHT11?
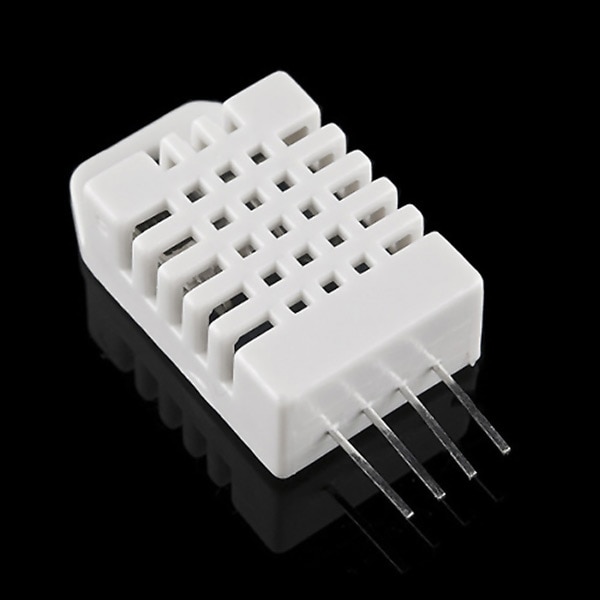
The DHT11 pinout can vary whether it is supplied mounted to a PCB.
The PCB portion doesn’t require a resistor, making it a little more beneficial. You also will only have to work with the 3 pins and not 4. Even if one of the pins isn’t used in the 4-pin, it still helps to have space on your breadboard.
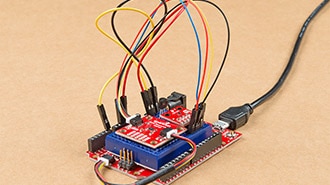
When you set up the code, be sure to include the DHT11 library! Here’s an example of the code I used for a Weather Station Transmitter:
I included the DHT11 as well as the NRF24L01 library. I wrote about the NRF24L01 and how to use it on this blog here!
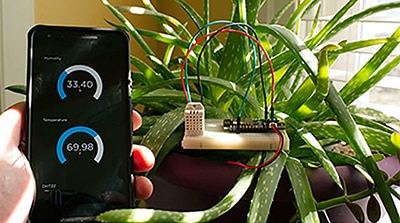
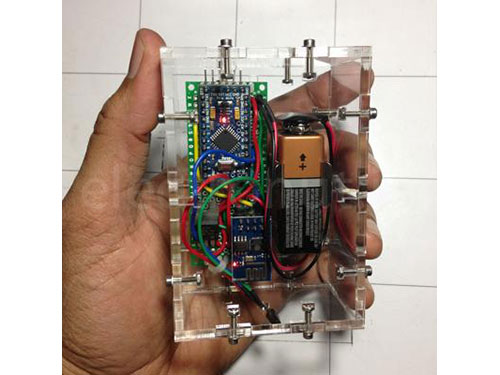
The DHT11 can be used for a weather station like the one I created for OPS. It might be cool to have right outside of your house to get a real-time look into how hot the day would be, or just to have something that might give a more accurate measurement of your environment than a weather station miles away. In our weather station build, we also incorporated a photoresistor in order to measure the daylight to display the relative time of day.
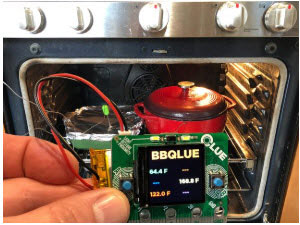
You can also incorporate this into IoT by possibly connecting it to an HVAC system that will turn on when it is too hot or cold so that you can maintain a certain environment. You could also implement it in a place where you’re aging meat or fermenting something. Greenhouses or just anywhere that you need to maintain an environment, DHT11’s provide an inexpensive solution that would allow you to accurately check the temperature and humidity easily.
In conclusion, the DHT11 is an inexpensive, easy-to-use humidity and temperature system that you can use in your everyday life. It’s perfect for IoT, and its small form factor makes it easy to implement anywhere. There’s a great deal of science behind this tiny device, and incorporating it into your arsenal opens up a number of projects to sink your teeth into.