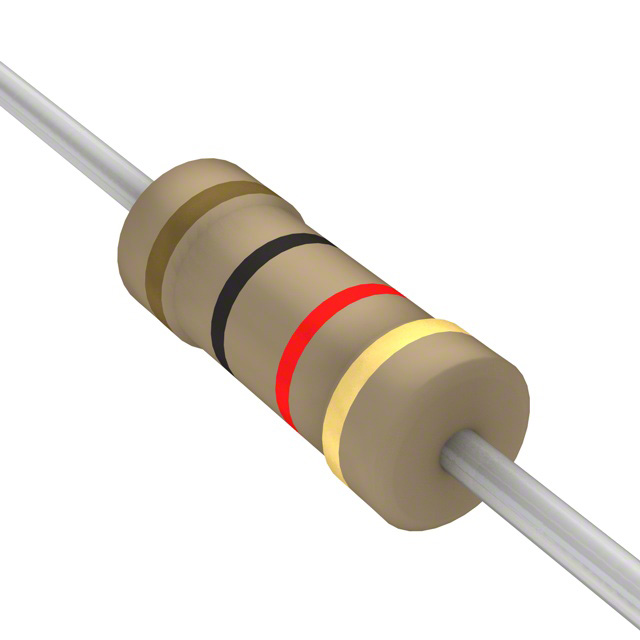
Mfr Part # 5302
KB2040 RP2040 KEE BOAR DRIVER
Adafruit Industries LLC
License: See Original Project
This year, for YouTube Makers Secret Santa, I got Look Mum No Computer. Sam performs with his modular synth and other cool audio equipment and collects obsolete technology for his museum in Kent, UK. We share a love for hacking toys and other ways to use electronics to be creative. I built him an audio sequencer in an old PS4 controller using sounds from his museum’s sample packs.
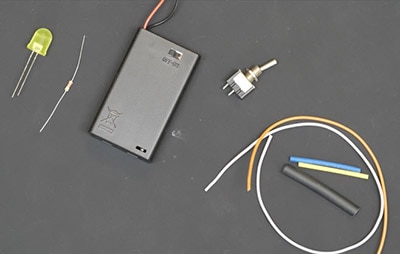
Materials and tools:
I started this project two years ago. The first stage was making a breakout board for the buttons on the PS4 controller, which is the most ubiquitous obsolete tech for me at the moment– I have a bunch of these kicking around that no longer work for whatever reason, but the form factor is ergonomic and the buttons work fine. I used my new breakout board to make a prototype sequencer that plays sounds when the buttons are pressed.
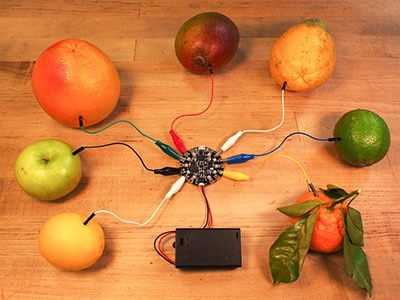
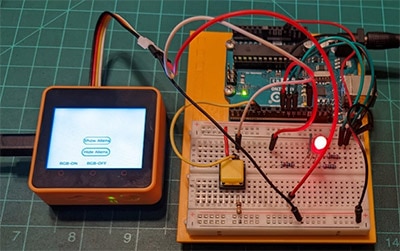
This project went through a few different stages. The initial circuit I made was used to reverse engineer the button mapping. The first versions of the sequencer circuit are based on John Park’s open-source breakbeat breadboard project, which runs loops and one-shots in Circuit Python on an RP2040 board.
Here’s where the perfboard prototype merges with the breakout board PCB project. Despite having a lot of experience in the hardware world, this is only my second official PCB design project. If you’re a perpetual beginner like me, you might like my introductory video series about DIY electronics on the DigiKey YouTube channel.
Assembling the circuit
I sent off the new board design to be manufactured. These new boards came quickly in the mail, and I started populating them with the sequencer parts. It’s so satisfying when a component fits perfectly. And it’s so annoying when you realize you’ve made a mistake. For one, I used the wrong spacing for these plated through holes that are supposed to line up with my audio amp. So, to connect the amp to my board, I had to fuss with individual wires or bend the headers to make everything fit. At least it’s a workable mistake, and it's easy to fix for the next board revision.
But this version with the sequencer on the PCB wasn’t working how I wanted it to. Previously, the design used an external speaker component to play the audio. But I wanted to use the controller’s onboard speaker, which involved carefully harvesting the special clips from the original controller boards so that I could reattach them to my own. My aux-out audio was working fine but when I flipped the switch to use the speaker, the amp would get hot, and no sound would play. I spent a long time looking at my circuit design and probing at it with a multimeter before I figured out my error, and the project sat on the shelf most of the time.
When I found out I got Sam for Secret Santa, my motivation for the project was renewed, since I knew Sam would get a kick out of using a newly obsolete toy to play with sounds created at his museum. I had to figure out what was wrong with the speaker output part of my circuit. My instinct was to phone a friend to ask if I could go over the board layout together. But half the benefit of that is just having someone you must explain each element to, and often talking it out will reveal the solution before any other feedback is provided. So before phoning a friend, I utilized rubber duck debugging, which is a technique from the software world where you talk through your project in plain language, to a rubber duck or something similar. This helped me come up with new things to test, and eventually, I figured it out. I had mistakenly tied my speaker negative to my circuit’s ground. They are most certainly not the same thing, but it was easy for me to overlook during the transition from protoboard to custom PCB.
So, I took a sharp craft knife to my PCB to cut the traces connecting the speaker negative to the circuit’s ground plane and used a multimeter to make sure there was no longer continuity between the speaker negative and the circuit’s ground. I used a little wire to jump from the amp to the speaker contact, and I was in business. It’s not like this speaker sounds great or anything, but I think it’s super cool to make a circuit that reuses it. Of course, for performing or recording, the aux out will give you better audio quality.
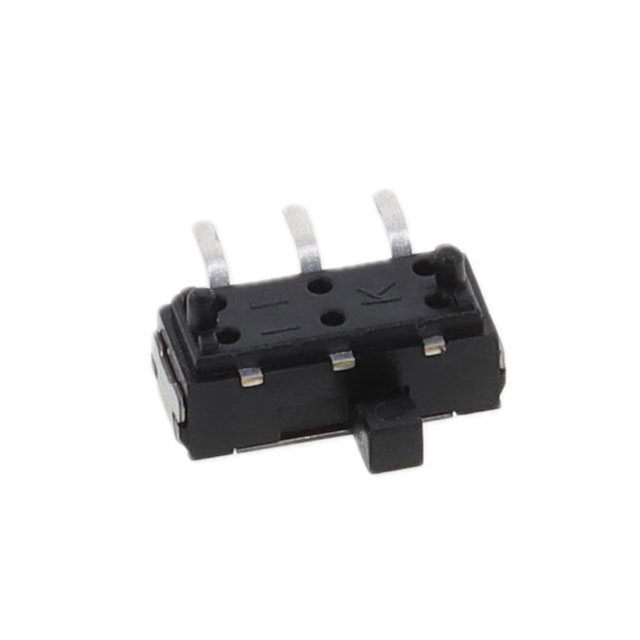
I kept whipping up circuits until I got two that worked well. The tiny buttons under the Share and Options buttons on the PS4 controller proved too small for me to solder by hand, even after switching to the smallest tip I have. So, the next version of this project will have the surface mount components machine assembled by a PCBA service such as JLCPCB.
Audio processing
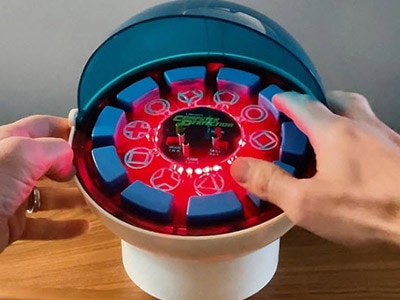
The way this sequencer works is that the sounds designated as loops will always be playing in the background, and the buttons toggle their mute status. The other sounds are one-shots, which play once every time you press their buttons. What’s cool is that the sounds don’t interrupt each other, they overlay, so you can really jam out and make your own composition.
I shopped for sound samples from Sam’s museum store. I had a blast curating two groups of sounds, one for each of the two controllers I wanted to send him. There are tons of sound packs available, and hopefully after reading this guide, he’ll be able to swap out the sounds to suit his needs on any given day.
To make the sounds compatible with life on a microcontroller, a little audio processing needs to be done to each file. For this, I used the free software Audacity to mix stereo down to mono, change the format to 16-bit PCM, and the project sample rate to 22Khz.
Then it’s just a matter of loading up the new, crunchier sound files onto the board, which mounts like a USB drive on your computer and editing the code to make sure it references the file names of the sounds we’re using.
While I still prefer coding in Arduino, I have to admit Python is really easy to learn, and these days the cost has come way down on chips that have the extra processing power needed to run an interpreted language like CircuitPython. So, I may be an old dog learning new tricks but I’m not gonna be a curmudgeon about it.
Final Finishes
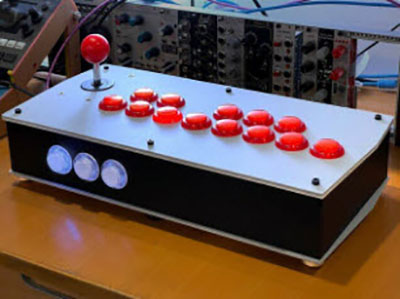
To decorate the controllers, I swapped out the plastic buttons with replacement ones I found online and switched up the parts between them to make each one unique.
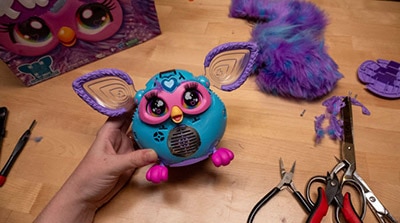
I wanted to decorate them even further and, I remember meeting a little girl named Zelda at Open Sauce this year who asked if I might make something with the Furby parts I have left over from my teardown video. Great idea, Zelda. Sam loves Furbies even more than I do. Ultimately, I went with just one of Furby’s ears, the one that still had its LED assembly intact, and wired it up to power and ground on my circuit. Usually, I would use epoxy for something like this instead of hot glue, but I simply didn’t have time to wait for the glue to dry, I was overdue to get this thing in the mail on its way to the UK.
Check out Sam’s video to watch him open my gift. My Secret Santa this year was James Bruton, and he made me a cool mechanical motorcycle game, which you can watch him build in his video. This huge collab is a circle, so you can keep watching until you get back to where you started.