Mfr Part # 14607
GRID-EYE INFRARED ARRAY BREAKOUT
SparkFun Electronics
License: See Original Project 3D Printing Batteries Imaging Microcontrollers Motors Servo
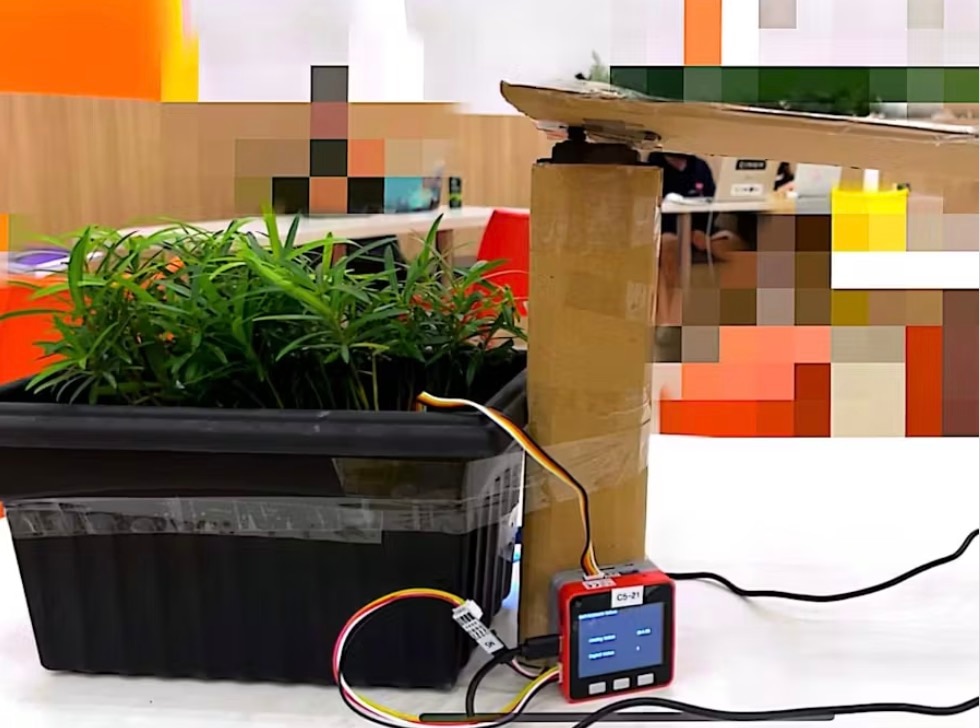
Thermal sensors can be used to make really fun projects that automatically react to heat in the environment. With just a few components and some code, I made a thermal turret that scans for warm objects like people and automatically targets and sprays water at the target!
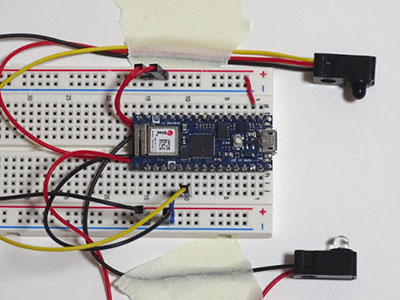
The electronics are all powered using a 12V battery connected to a breadboard power rail. From there, two motor drivers connect to the stepper motors to control turret movement. A buck converter steps the voltage down to 5V for the servo motor to spray the water. Since the SparkFun GridEYE sensor board uses I2C at 3.3V logic, I added a logic level shifter to safely step down the 5V signals from the Arduino to avoid damaging the sensor. This whole setup makes sure each component gets the voltage it needs while still running from a single battery source.
At first, I didn’t use a logic level shifter and directly connected the 5V I2C lines from the Arduino to the thermal camera. That ended up burning out the sensor because the 3.3V data lines couldn’t handle the higher voltage. After that, I replaced the sensor and added a proper level shifter, which fixed the problem and protected the new one from damage.
We then wire the electronics together. The stepper motors connect to the EasyDriver boards, which connect to the Arduino. The servo and thermal sensor also plug into the Arduino. I used 1/8 microstepping on the drivers for smoother motion and better aim. We added a power switch on the battery for simple control of the entire project's power.
Next, we need to 3D print the parts that hold all the electronics and let the turret rotate. This includes the housing, the platform for the stepper motors, and the mount for the water gun and thermal sensor. Once printed, we can start putting everything together.
First, we put all the electronics in the main box. We put the battery on the side to make sure not to crush anything, the Arduino Nano Every in the back near the hole so we can upload code to it, and then we line up the rest of the components throughout the bottom of the box. It’s a little bit of a mess of wires, but don't worry, it’ll be covered up soon.
We then attach the X and Y stepper motors to the mounts using four screws each. The X motor is attached to a bracket inside the box, and then the Y motor is attached to a U support that has a motor hub on the bottom to attach to the X motor. These motors let the turret turn left and right and tilt up and down. Then we attach the rotating parts using bearings, a 3D printed shaft, and motor hubs.
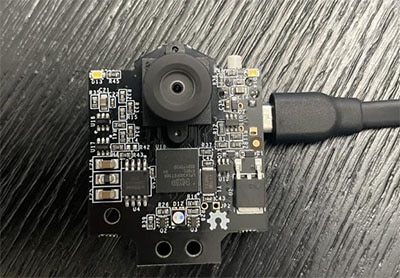
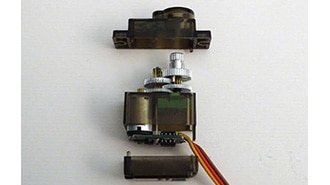
Now we can mount the thermal sensor and the water system. The thermal sensor I used is the SparkFun GridEYE board, which can detect heat in an 8x8 pixel grid. I placed it near the top of the turret to get the clearest view. The water dispenser is attached to a servo motor, which pulls the actuator when it's time to fire. I modeled a holder that fits the exact dimensions of the water vessel, so it has a perfect fit. We can then put the cover on top to cover all the wires and electronics to make sure they don't get wet.
After wiring, we upload the code. The turret looks for clusters of hot pixels using a blob detection algorithm. It calculates the center of the heat blob, then moves the motors until that hot spot is in the middle of the sensor’s view. When it’s centered, the servo triggers the water to spray.
Optionally, we can use a dynamic threshold so it only reacts to temperatures above 24°C, and we can add a safety feature that makes it go back and forth searching if nothing hot is detected. This makes sure it always returns to scanning mode instead of staying stuck.
Below is what each of the pieces does:
GridEYE Sensor: Scans for heat and detects the hottest spot.
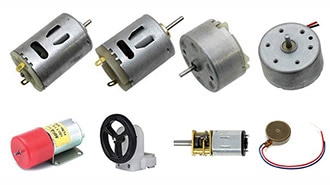
Stepper Motors: Rotate and tilt the turret to aim.
EasyDriver Boards: Control the precise movement of the motors.
Servo Motor: Pulls the trigger on the water gun.
Buck Converter: Provides 5V power just for the servo.
Logic Level Shifter: Steps down logic for I2C communication with the thermal sensor.
Arduino Nano Every: Handles all the logic, scanning, aiming, and firing.
3D Printed Mounts: Hold everything together in a nice-looking package.
12V Battery: Powers the whole system through the breadboard power rails.