Mfr Part # ABX00092
ARDUINO NANO ESP32 NO HEADERS
Arduino
License: See Original Project
Today, I’m sharing a special Arduino project – a replica of Penny’s computer book from Inspector Gadget.
I carved out a real book to fill it with electronics that look and behave like the book in the cartoon. It’s powered by an Arduino Nano ESP32, which is available at DigiKey.
Research
The first step to any good prop replica is thorough research. I gathered up a bunch of visuals of Penny’s book to inform my bill of materials. It’s a relatively thick book with a blue cover, and it’s got a small screen and button matrix on the cover, though you never actually see Penny using this feature in the show.
On the inside left, there’s a 3x4 button panel, a portrait-oriented screen, twelve illuminated green buttons, a white button that lights up red, and three small square buttons, one each red, yellow, and blue. On the inside right, there’s a large screen, which I plan to emulate stylistically rather than literally.
Supplies
To shop for the parts I needed, I used DigiKey’s extensive catalog filters. Here's a list of all the parts:
Tools:
Making the Body of the Book
For the main body of the book, I looked into blank books but couldn’t find any thick enough to look right or hold all the components. So, I figured the least terrible printed hard-cover book to destroy would be a collection of stories that are not at all scarce.
I cut the cover to make way for a character LCD and matrix button panel. I sandwiched my small cutting mat in the book to prevent cutting further than the cover layer.
Inside, I laid out the parts for the left panel and arranged the button sets onto some small perfboards. The mockup was looking good, so I could go ahead and solder the buttons in place.
Once I had the holes in the cover made and verified the components fit, I got to painting the book blue. I used a mixture of blue acrylic paint and acrylic matte medium, and I covered the interior pages of the book with painter’s tape so I could easily handle the whole thing, painted the front, back, and spine, and set it up to dry overnight.
Then I tested out my button panel by wiring it up to an Arduino Uno running a simple program to toggle the LED on and off when the button is pressed.
Making the Inside of the Book
The next step is where things start to get messy– cutting out the interior body of the book. I used a ruler and utility knife to make progressively deeper cuts through the pages and used some clamps to help hold the pages in place. I also cut a passageway through the bound edge, so I could run wires between the two sides of the open book.
I wired up the rest of the green button panel and fed its stranded wires through the hole I had cut through the spine. Each button is wired up like the big white one shown here– all grounds are connected to one wire, and then another two wires go to the switch and the LED.
Next, it was time to install the other tested components into the book. I soldered stranded wires to a TFT display and threaded them to the right side of the book.
I connected the gray button panel to an audio FX board loaded with sounds from the show and installed the speaker in the right side of the book. Then, I used little pieces of cardboard and my hot glue gun to secure the components in place.
I gave up on the idea that the book would fold shut again, so I glued the pages to each other in the flipped-open position. I used rulers and clamps to hold the pages together while the glue dried.
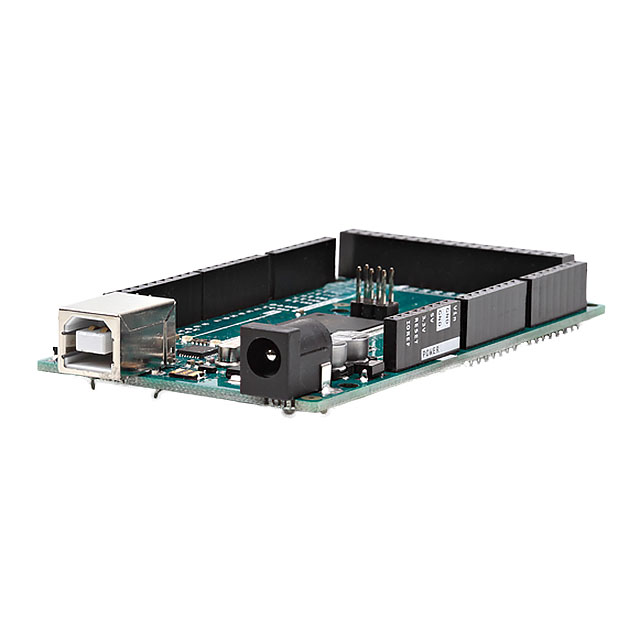
I’m using the Arduino Nano ESP32 as the microcontroller brain of this project. It’s got wifi and Bluetooth crammed into a tiny footprint, supports both Arduino and MicroPython, and it’s compatible with the Arduino IoT Cloud. I like that it has castellated pins so I can solder it directly to a breadboard and keep my circuit profile as low as possible.
The Uncut Pages
Before I could embed any more components into the right side, I needed to sort out the remaining uncut pages. Using a separate paper template cut to match the interface, I cut a few pages to serve as the compartment’s solid cover.
Then I cut a piece of black paper to match the openings on the left, and one big opening on the right. Since some of the printed pages and component perfboard was visible, I used smaller pieces of black paper to shore up the layer behind the black paper.
I used that rectangle to guide cuts through the remaining right-side pages to create one large cavity where the microcontroller can live.
The Electronics
I have the ESP32 board driving the display and fun Wi-Fi features of this project, but it simply doesn’t have enough i/o pins to deal with all the buttons and LEDs wired up on the left side, so I employed an Arduino MEGA dedicated just to the illuminated buttons. They share power and ground.
The MEGA also drives the pixel animation on a NeoPixel stick, which I’m using to simulate a screen animation from the book in the show. I took a tip from Nerdforge and layered printed transparency and paper to create a graphic with more dimension.
More About the WiFi
The program generates a network you can join called Penny’s Computer Book, which launches a captive portal after you join it.
The page you’re shown has buttons that control some different outputs on the TFT display including the MAD graphic, calling Brain the dog, and showing you the components used to build the book.
Project Code and Circuit Diagram
Here is the code for both the Arduino Nano ESP32 and MEGA.
And the circuit diagram for this project:
This project will be on display at the DigiKey booth at Maker Faire Rome 2023, along with Penny’s video watch, which I’ll show you how to build in a future post.