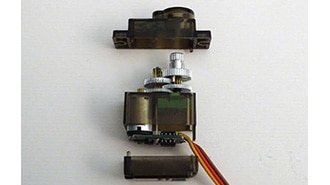
Mfr Part # SER0039
SERVOMOTOR RC 5V 9G METAL GEAR
DFRobot
License: See Original Project 3D Printing Motors Servo
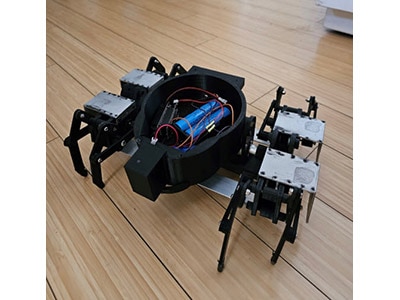
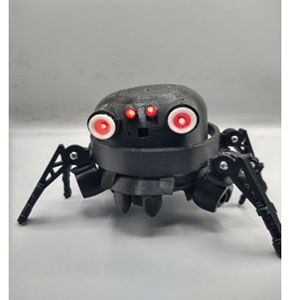
Here is the first version of the Comet Crawler project. Originally, I just wanted to test myself to see if I could make something crawl. The outcome was this simple assembly project. If you’d like to make your own, follow the steps and let us know how you took this project and made it your own. The original project idea was based on the Kame robot.
Parts List:
I tried to keep this project relatively low-cost by keeping a low part count.
Programming:
This part is very important. Originally, this wouldn't work without a specific Arduino library, called Octosnake, which originated from the original Kame project. I had to edit it a bit, but this project will not work unless you have this in your Arduino Library. You can download this library and code for this project here:
This code will first start off by making your robot stand up. It sets all the servos to 90° before it begins to walk.
Assembly.
I've added the step files for anyone who wants to edit anything, but the assembly process is pretty simple. I recommend printing the base first so that you can secure everything in place. You can find all the 3D model files here:
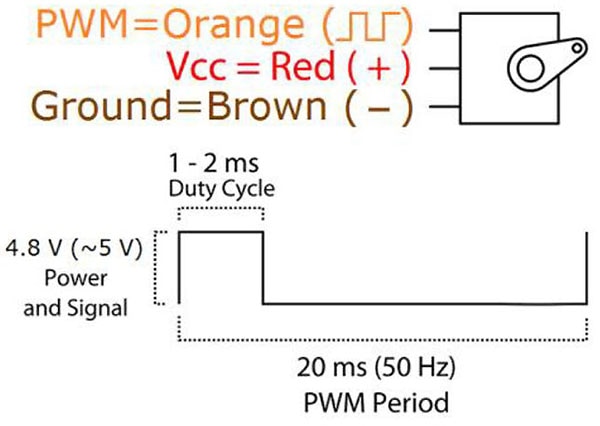
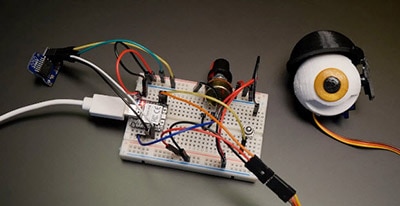
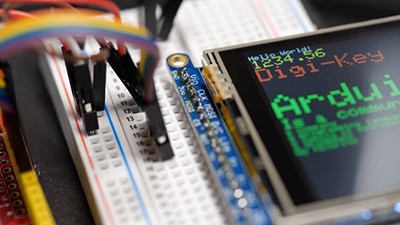
Your circuit board should look more or less like this: the Feather boards stack upon each other, and this project uses all of these servo pins.
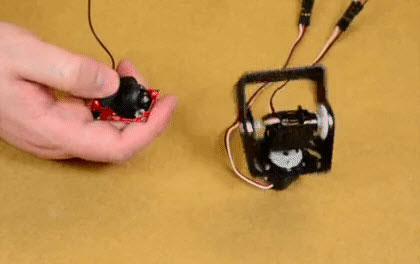
Next, I recommend attaching the servos to the base. The servo horns should be facing outwards.
Next, I would recommend attaching the legs. The legs are pretty simple, and they use 3 mm screws or rods to fasten together. This part is particularly fun in my opinion because if everything is done correctly, your robot should stand up.
After that, you can easily attach the head, which you can do with some small screws. I left a lot of room in the head to stuff the batteries. The board and the servos have to be powered separately, so you're going to need two types of batteries. I also wired it with push buttons so I can turn the robot on and off.
Now that everything is assembled, upload the code and test it out.