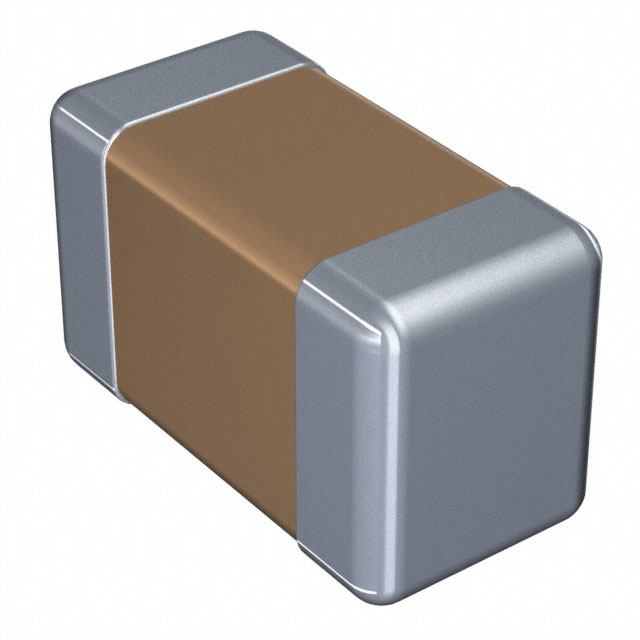
Mfr Part # 102010428
XIAO RP2040
Seeed Technology Co., Ltd
License: See Original Project 3D Printing Solder / Desoldering
Last year, my teammate, Ian, dropped some serious knowledge in a custom keyboard class I attended, and I was hooked. I saw the light, and that light was a grid of customizable buttons. Sure, you could buy a kit, and sure, DigiKey even sells macropad kits, but where's the fun in that? If you thought I was just going to buy a kit, you clearly haven't been paying attention.
A macropad is basically a custom mini keyboard on steroids. You can assign any shortcut or keypress that you want to any button. Are you a creative type? Think brush sizes and filters at your fingertips. Are you an engineer? Well, we can program those complicated CAD keyboard shortcuts that have you twisted like a pretzel to one button press!
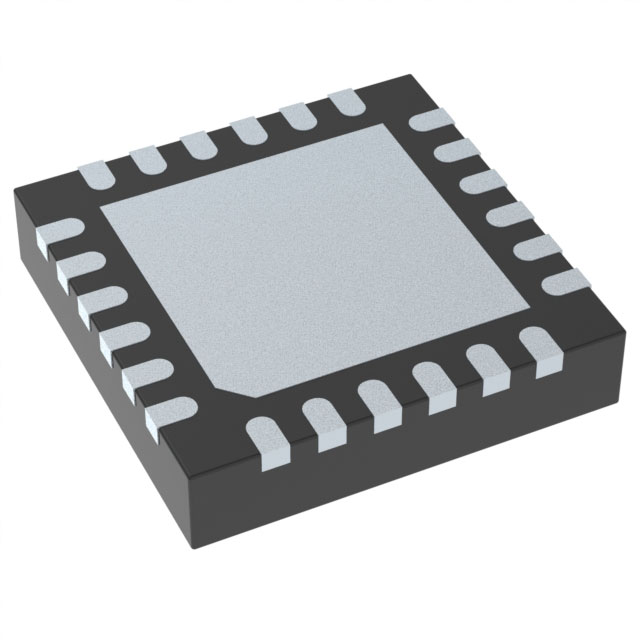
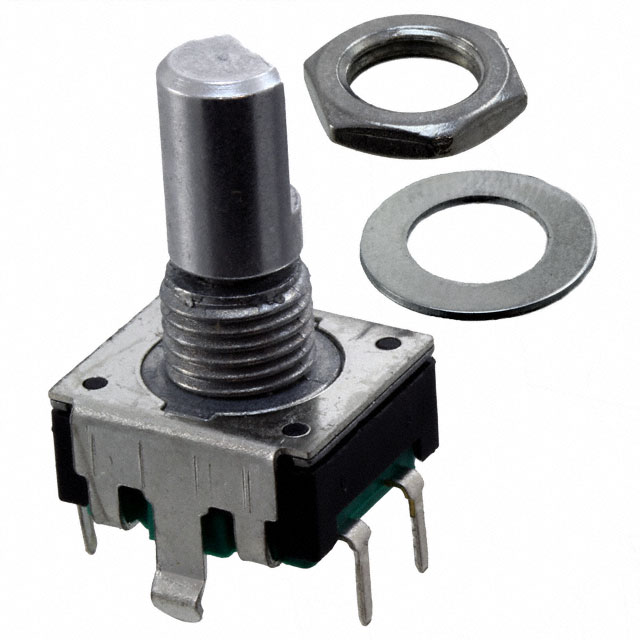
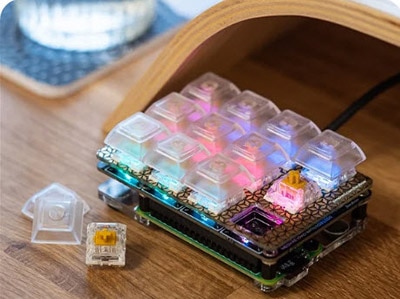
I am an engineer, and Fusion 360 and KiCad are the software I use the most. I wanted to speed up my workflow, so Ian and I sat down and sketched out a schematic. First up, we needed to choose the microcontroller. We landed on the RP2040, specifically the Seeed Studio Xiao RP2040 module for its flash, GPIO pins, and the fact that it has a built-in USB-C connector. Now, the RP2040 has plenty of GPIO, but we did not want to limit ourselves. We added an I/O expander because the more buttons, the merrier. Then, we started adding the key switches. We landed on a 4x5 matrix, giving us 20 buttons and because knobs are fun to turn, we added two rotary encoders. Next up, we thought about lighting because what's a macropad without RGB LEDs? We went with SK6812s, reverse-mounted for ease of assembly. Finally, because we're always about going the extra mile, we added a linear potentiometer.
After some schematic cleanup, Ian worked his magic on the PCB board layout. Let me tell you, it was a thing of beauty. We even threw in an I2C Qwiic connector for an OLED display because I like having options. I went to DigiKey to place an order for all the parts I would need for this project.
While I waited for the PCBs, I did a little experimenting with the Seed Studio Xiao RP2040 and the Arduino IDE. I found a library from Adafruit, and it turns out that reading key presses is surprisingly simple. It emulates a keyboard by using the HID (Human Interface Device) protocol, and in no time, you're typing numbers with a test key switch. Cool, right?
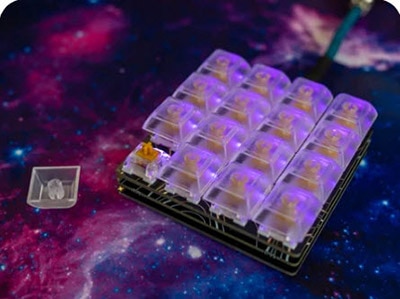
When the PCBs arrived, they looked great. I set up my workstation, used the stencil to apply solder paste, and got to work placing the SMD components. KiCad's Interactive BOM plugin made component placement a breeze. After placing all the parts, I slid them into my DIY reflow oven, which I had built in a previous video. After the reflow was done, it was time for testing. I began using tweezers and Vial’s IDE to test each set of button pads since I still needed to solder on the key switches. That's where things got interesting. The buttons tested great until rows four and five; that is where things went south. It turns out pull-down resistors are important. A few of them were misaligned from the reflow oven. After a little soldering iron fix, I was back in business with fully working buttons.
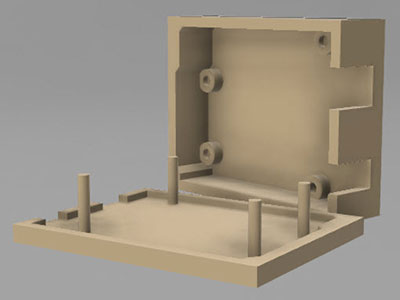
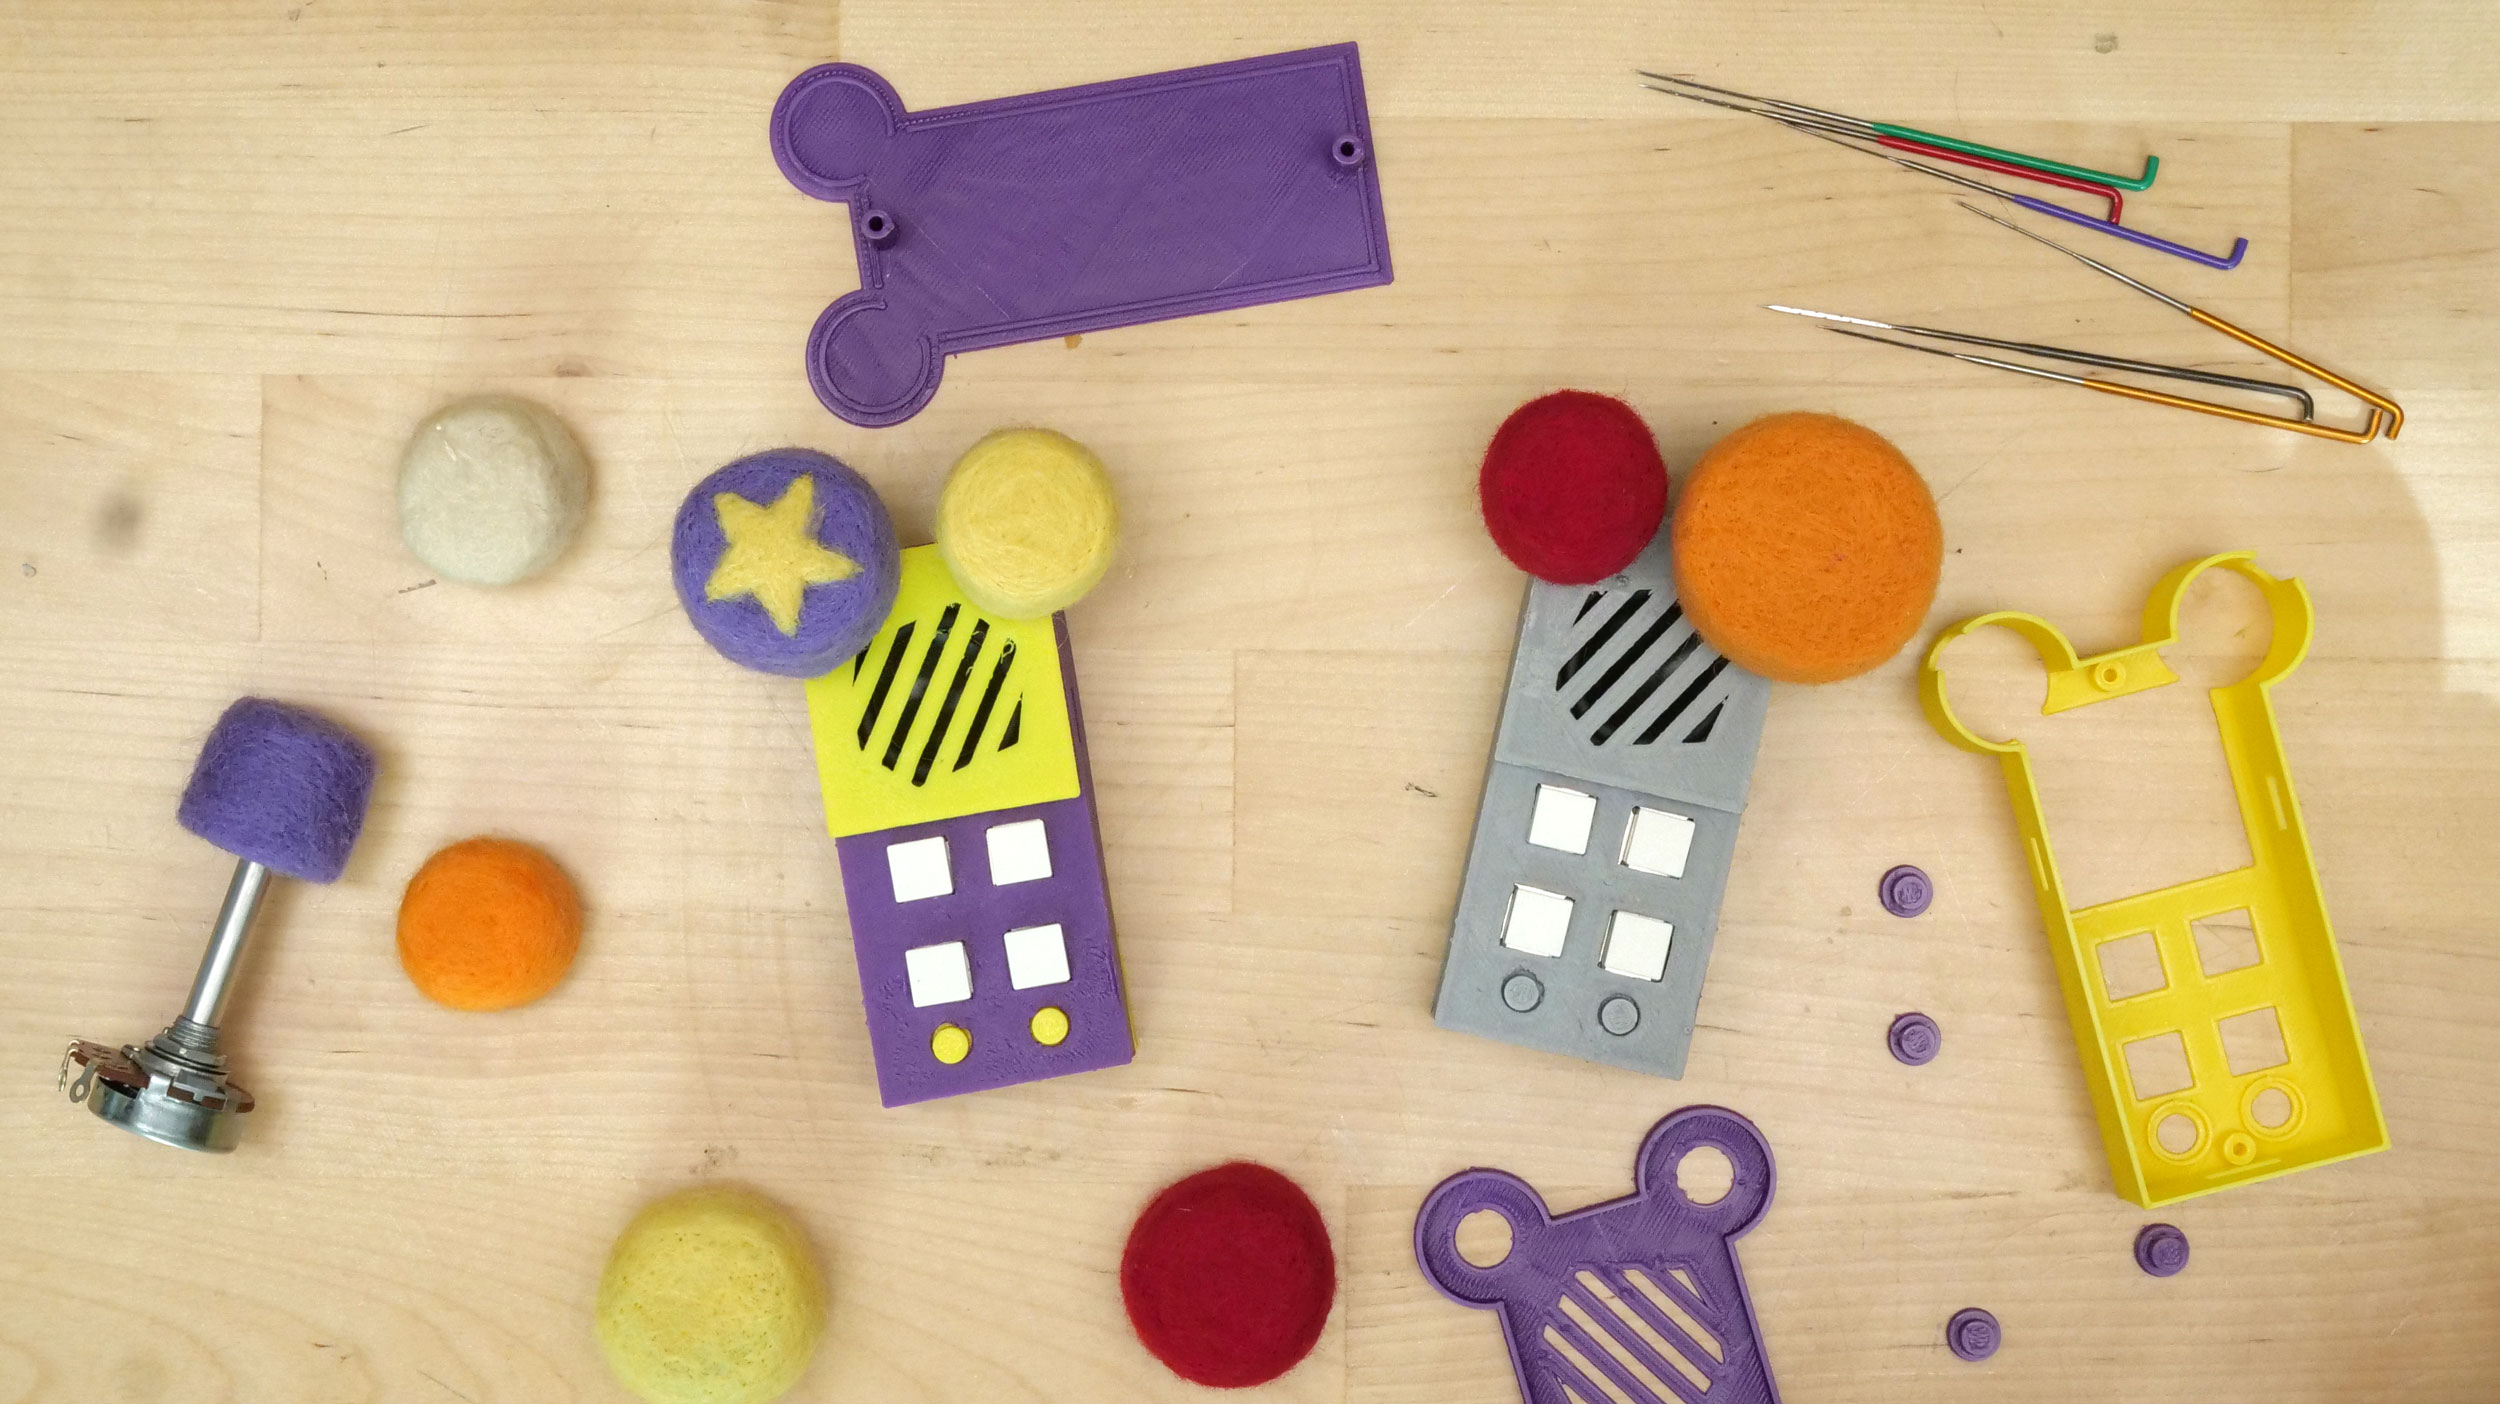
Next up, I needed to install the key switches. The world of key switches is a rabbit hole. There are so many different types of key switches. I went with some general-purpose ones, but the options are endless. Before I could solder on the key switches, I needed to work on the case. The case will help align the key caps, so they don’t end up getting soldered crooked and looking wonky. I fired up Fusion 360 and designed one to be 3D-printed. While I was designing my case, I realized that my OLED display didn’t fit where I had planned for it to go between the two rotary knobs. I decided to make it an optional add-on at the top of the enclosure in case I decided later that I didn’t want to use it.
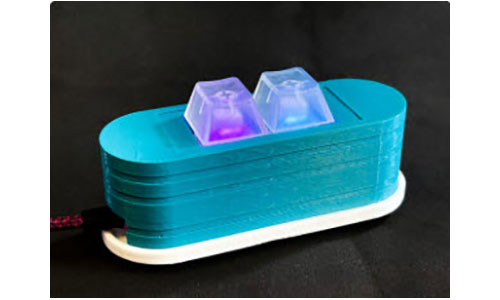
After the case finished printing, I hand soldered all the key switches, rotary knobs, and linear potentiometer. Now, it was time for keycaps. Because I could, I 3D printed them in multicolor, with icons for each shortcut I wanted. Who has a good enough memory to remember what each button does without labels?
Then, the moment of truth: time for programming the firmware. You have options when programming macropads. You could just use open-source software QMK, which would be great if you were mass-producing macropads or didn’t plan on changing firmware often. Since I want to edit the keys and adjust the settings on the fly, I landed on Vial, which is a QMK GUI, and I started assigning shortcuts. Fusion 360 shortcuts, to be precise. And then, because I always need a Byte Sized Engineering special touch, I added a special button feature. A button that... well, you'll have to watch the video to find out.
But seriously, this macropad is a game-changer. It's all about customization, about making your workflow faster and smoother, and if you're not dancing by the end, you're doing it wrong.