Mfr Part # C008-B
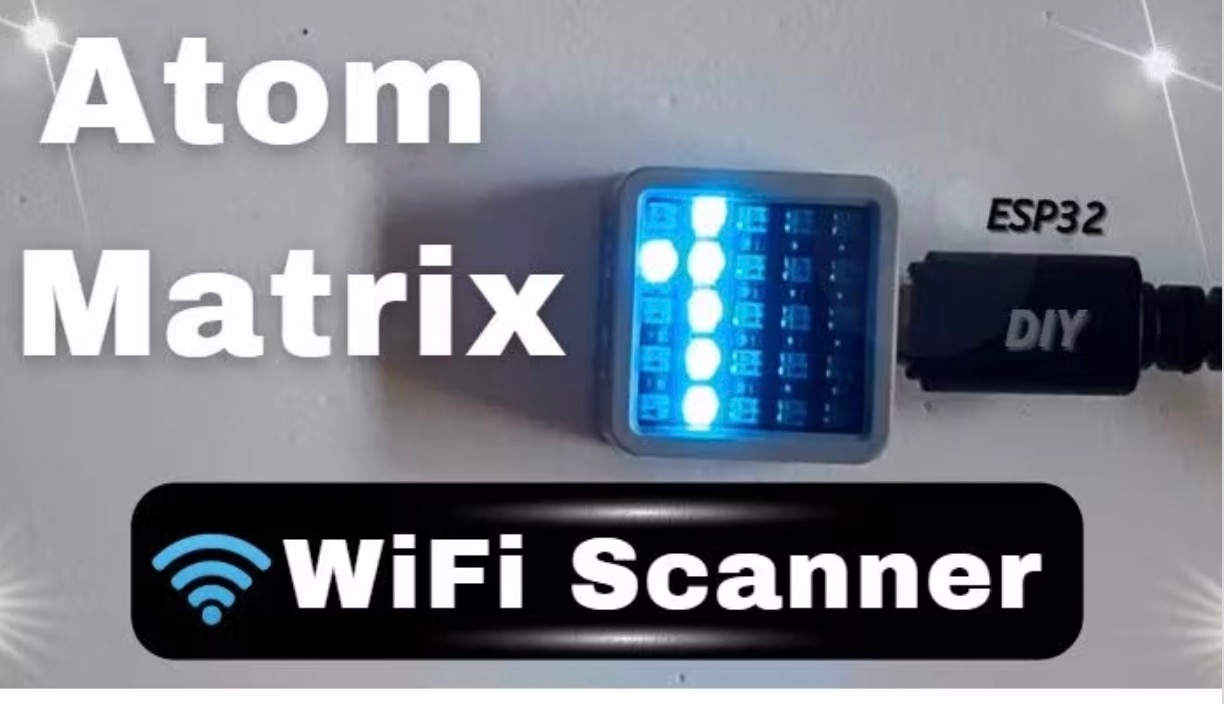
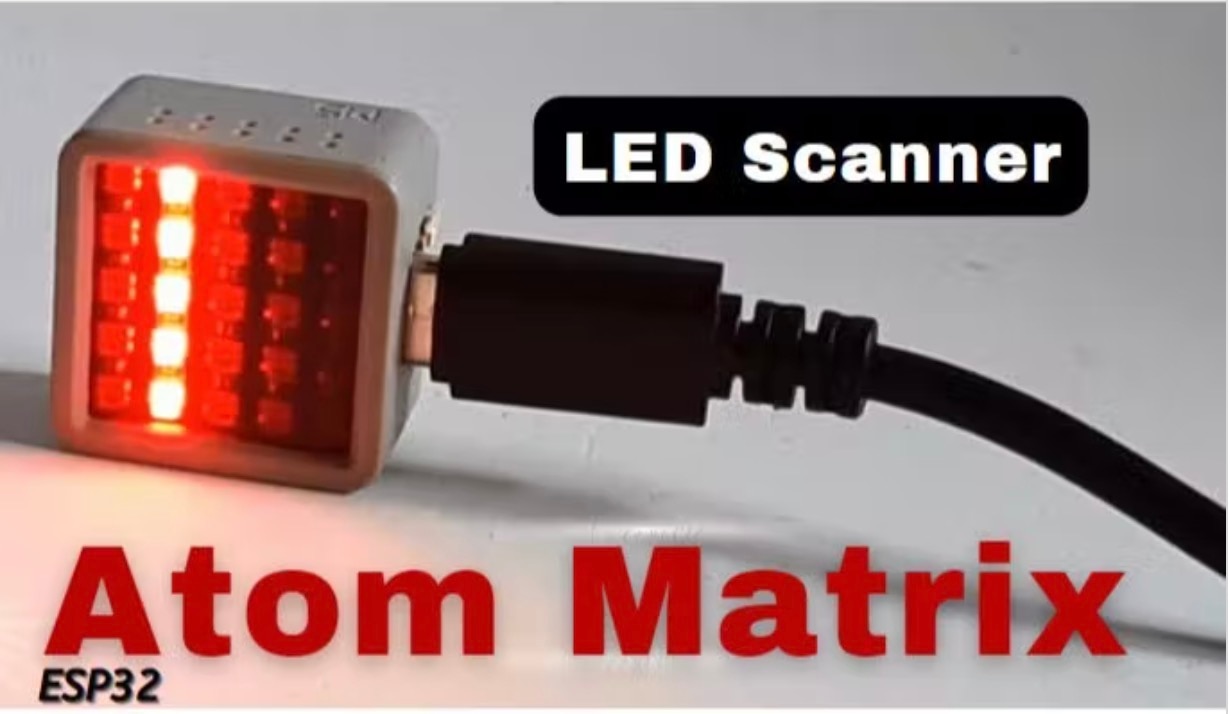
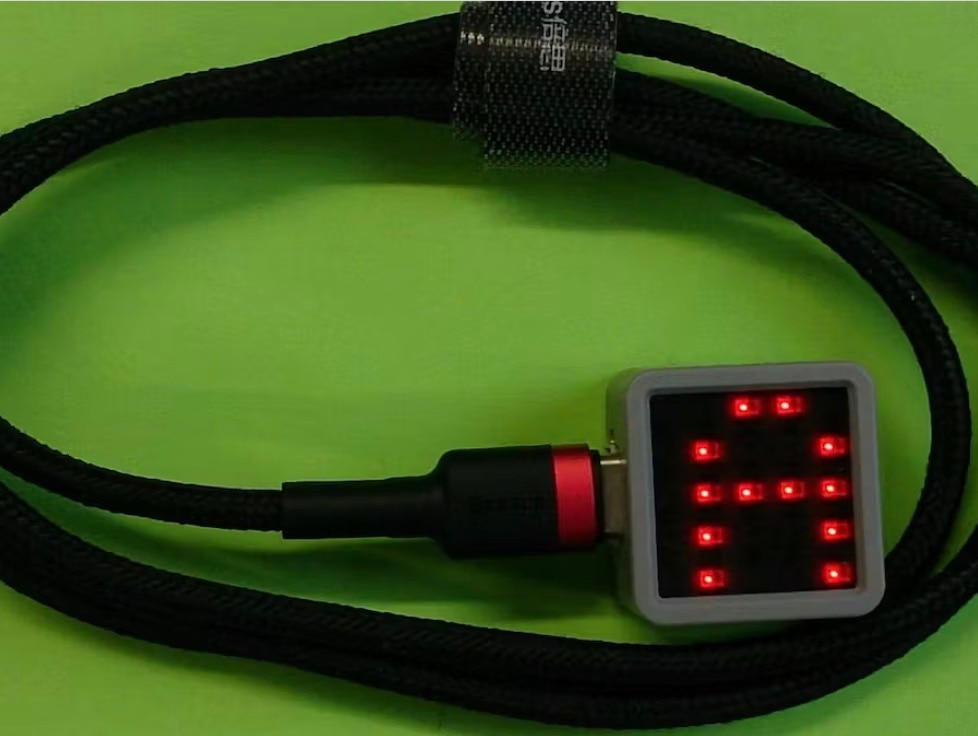
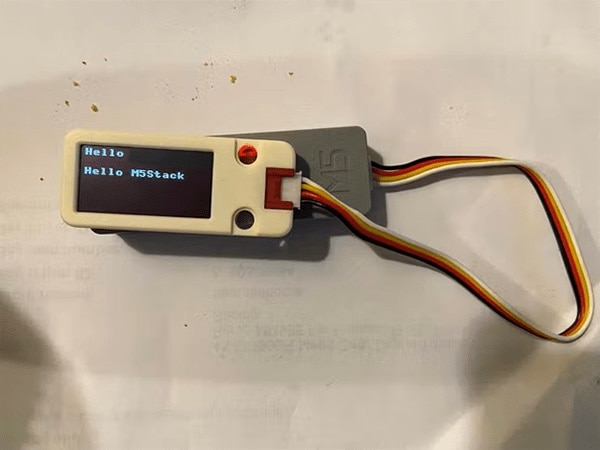
ATOM MATRIX ESP32 EVAL BRD
M5Stack Technology Co., Ltd.
License: GNU Lesser General Public License Displays Microcontrollers Wifi Arduino ESP32
In this tutorial, we are going to display temperature and humidity from the DHT11 sensor using the ATOM Matrix ESP32. Values will be displayed proportionally according to the matrix display.
Learn more about Visuino: What is Visuino
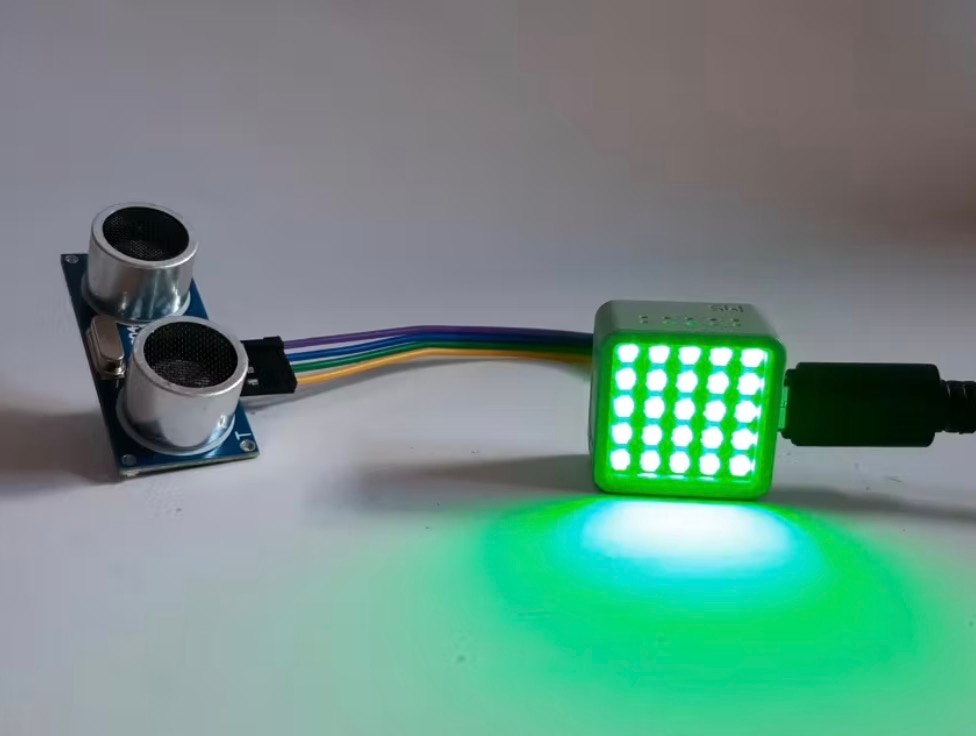
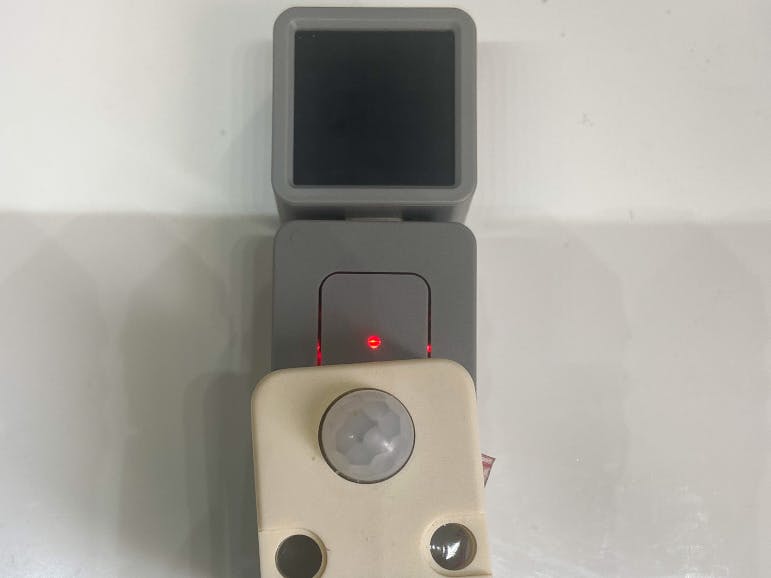
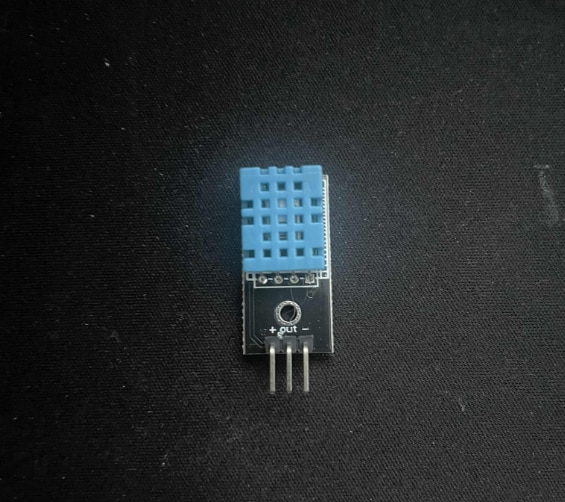
DHT11 Temperature and Humidity sensor
Visuino program: Download Visuino


Connect DHT11 sensor pin [VCC] to Atom Matrix pin [5V]
Connect DHT11 sensor pin [GND] to Atom Matrix pin [GND]
Connect DHT11 sensor pin [S] to Atom Matrix pin [G25]

Start Visuino as shown in the first picture. Click on the "Tools" button on the Arduino component (Picture 1) in Visuino. When the dialog appears, select "Atom Matrix" as shown in Picture 2


Add "DHT11" sensor component
Add 2X "Map Range Analog" component
Add 2X "Analog To Integer" component
Add 2X "Integer Multi Source" component


Select "M5 Stack ATOM Matrix" board, and in the properties window, expand "Modules">"RGB Matrix">"Elements" and click on the 3 dots button
In the "Elements" window, drag "Draw Rectangle" to the left side and in the properties window select "Height" and click on the Pin Icon and select "Cardinal SinkPin", set the "Color" to aclGreen, "Width" to 2, "Height" to 0
In the "Elements" window, drag another "Draw Rectangle" to the left side, and in the properties window select "Height" and click on the Pin Icon and select "Cardinal SinkPin", set the "Color" to $FF0080FF , "Width" to 2, "Height" to 0, "X" to 3
Close the "Elements" window
We need to adjust the values from the DHT11 sensor to the matrix display. To do that:
For the Temperature: Select "MapRange1" and in the properties window set "Input Range" > "Max" to 35 and "Output Range" > "Max" to 4
For the Humidity: Select "MapRange2" and in the properties window, set "Input Range" > "Max" to 100 and "Output Range" > "Max" to 4


Connect "HumidityThermometer1" pin [Sensor] to "M5 Stack ATOM Matrix" pin [GPIO 25]
Connect "HumidityThermometer1" pin [Temperature] to "MapRange1" Pin [In]
Connect "HumidityThermometer1" pin [Humidity] to "MapRange2" Pin [In]
Connect "MapRange1" Pin [Out] to "AnalogToInteger1" pin [In]
Connect "MapRange2" Pin [Out] to "AnalogToInteger2" pin [In]
Connect "AnalogToInteger1" Pin [Out] to "IntegerMultiSource1" pin [In]
Connect "AnalogToInteger2" Pin [Out] to "IntegerMultiSource2" pin [In]
Connect "IntegerMultiSource1" Pin [0] to "M5 Stack ATOM Matrix" > "Draw Rectangle1" pin [Height]
Connect "IntegerMultiSource1" Pin [1] to "M5 Stack ATOM Matrix" > "Draw Rectangle1" pin [Clock]
Connect "IntegerMultiSource2" Pin [0] to "M5 Stack ATOM Matrix" > "Draw Rectangle2" pin [Height]
Connect "IntegerMultiSource2" Pin [1] to "M5 Stack ATOM Matrix" > "Draw Rectangle2" pin [Clock]


In Visuino, at the bottom, click on the "Build" tab, make sure the correct port is selected, then click on the "Compile/Build and Upload" button.

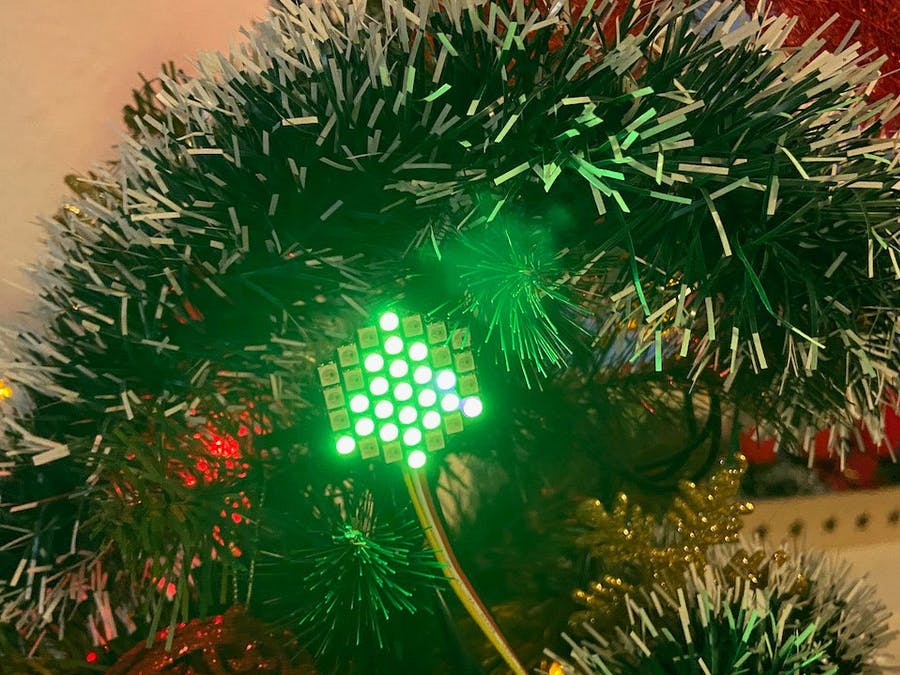
If you power the ATOM Matrix module, the display will start to show the temperature as green and humidity as blue. Values are proportional according to the ATOM Matrix display size.
Congratulations! You have completed your project with Visuino. Also attached is the Visuino project that I created for this tutorial; you can download it and open it in Visuino: https://www.visuino.eu