Orders are typically delivered to Hong Kong within 3-4 days depending on location.
Free delivery to Hong Kong on orders of HK$330 or more. A delivery charge of HK$125 will be billed on all orders less than HK$330.
UPS, FedEx or DHL freight pre-paid: CPT (Duty, customs, and taxes due at time of delivery)
Credit account for qualified institutions and businesses
Payment in Advance by Wire Transfer
![]()
![]()
![]()
![]()


More Products From Fully Authorized Partners
Average Time to Ship 1-3 Days, extra ship charges may apply. Please see product page, cart, and checkout for actual ship speed.
Incoterms: CPT (Duty, customs, and applicable VAT/Tax due at time of delivery)
For more information visit Help & Support

We are engineers and professionals passionate about electronics and technology. Our team combined has experience in PCB design, engineering concepts and product development. Together we are able to provide technology solutions for a more efficient world.
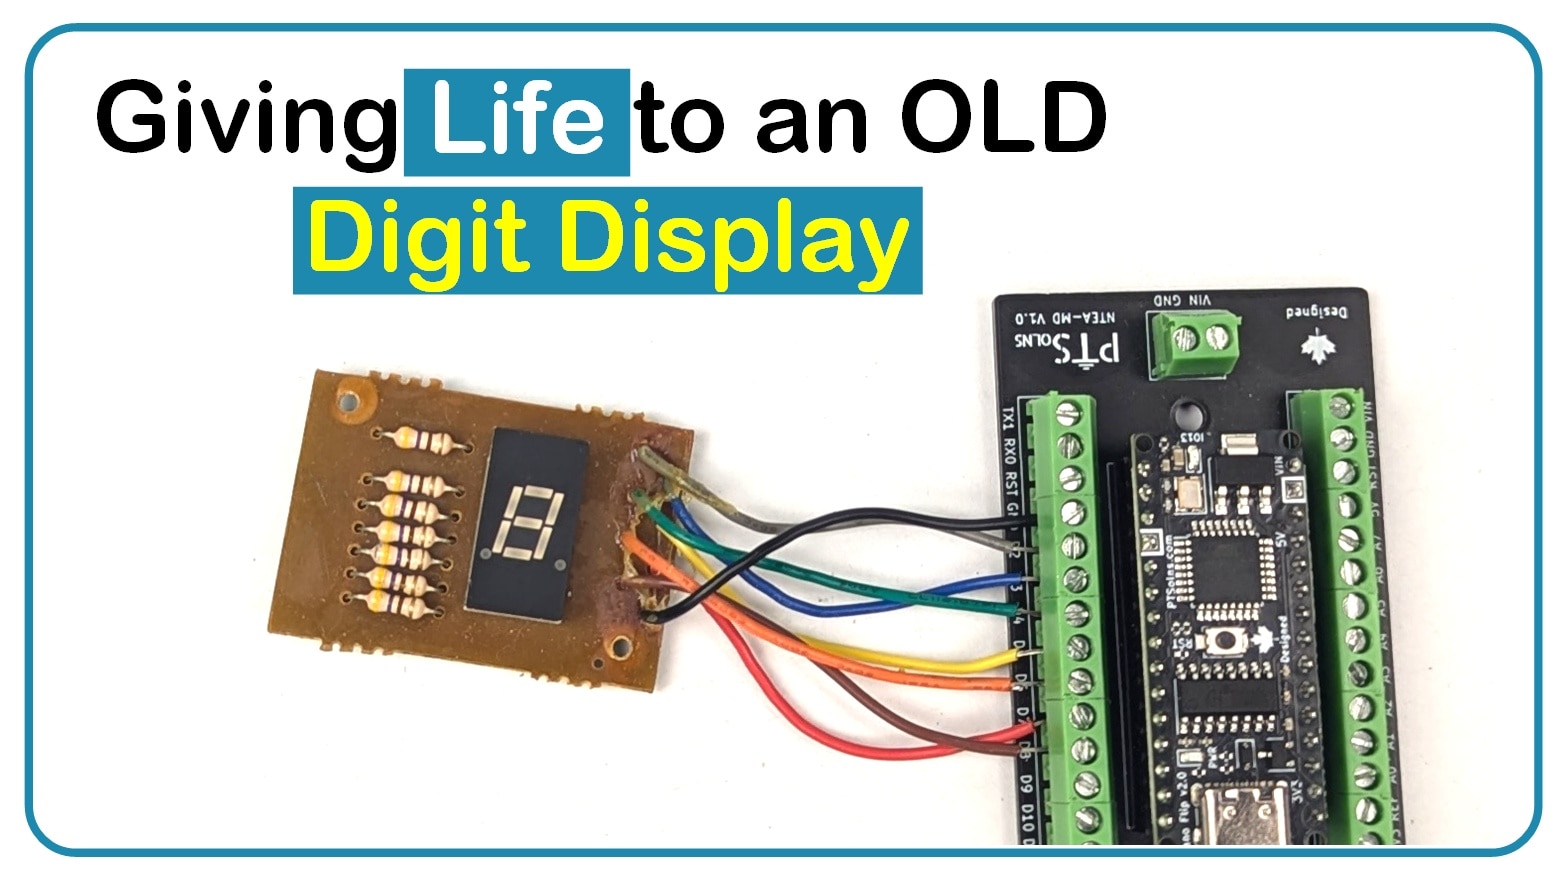
Exploring a vintage single digit seven segment display with an Arduino Nano Flip. Mapping segments and running counting and chase light modes for fun.
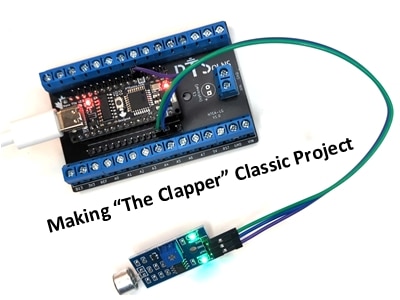
Making "The Clapper", a simple, fun, and quick project that gets you playing with the Nano right away.
This tutorial shows the steps to change bootloader (old and new) on the Nano development board using a custom shield and an Uno as the programmer.
A simple getting started project demonstrating one-way RF communication between two nodes using the NRF-Shield.
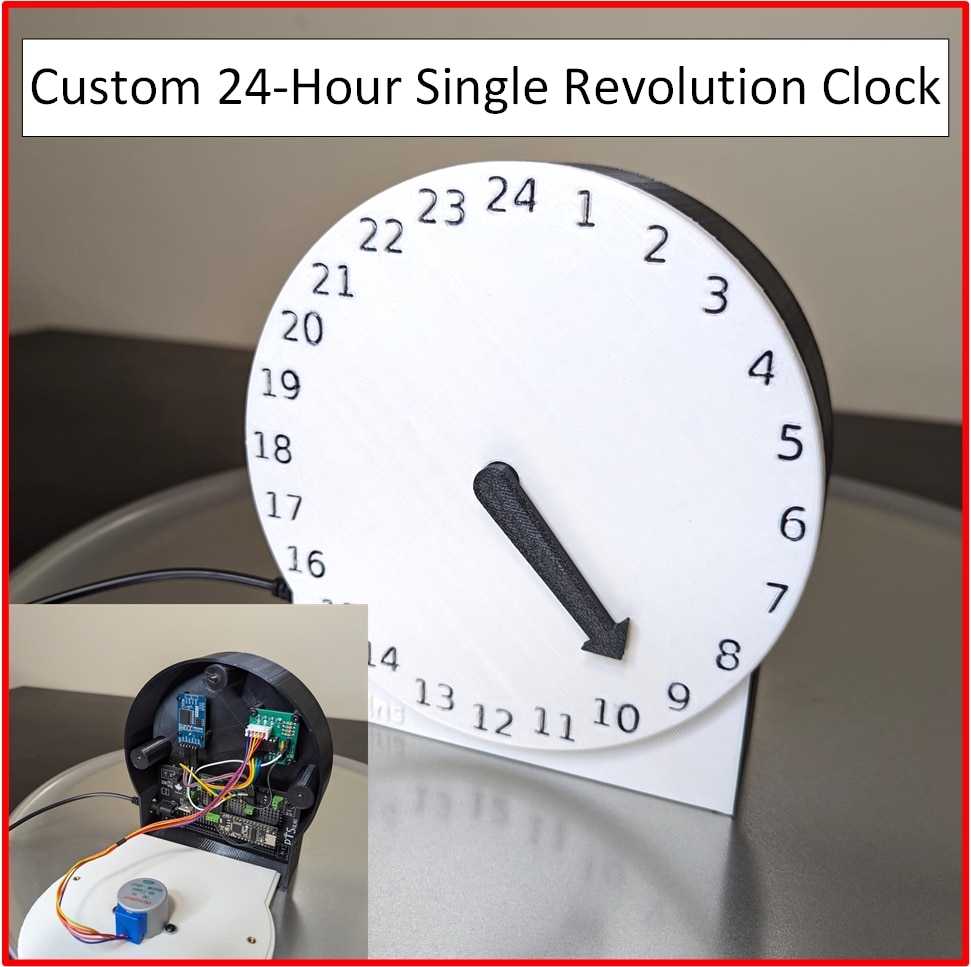
A custom 24-hour single revolution clock made with an RTC and a stepper motor, controlled by the Nano Flip, all put together on the Proto-Half.
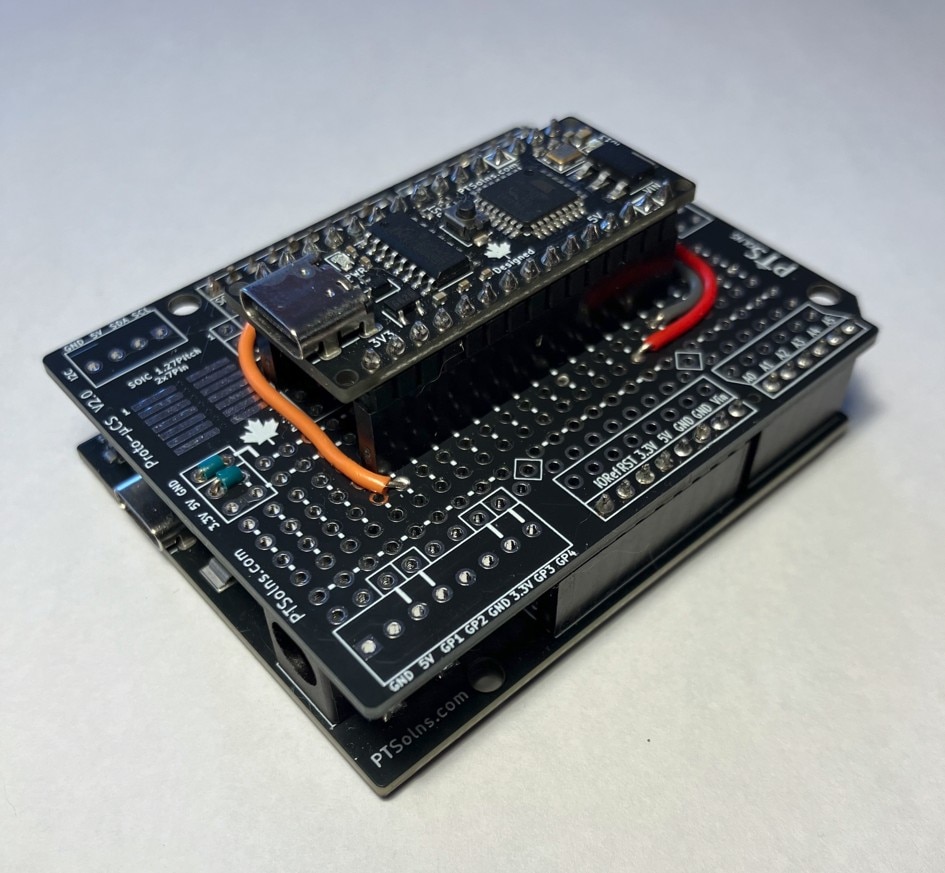
At the end of the project, you'll get a Nano that has a footprint of the Uno.
The 2-Pin JST-PH 2.0 connector is found on many LiPo batteries used in hobby drones, RC cars and toys, and of course, electrical boards and modules. These are handy little connectors, but there is one problem - the polarity convention.
In this technical post, we explore the widely used CH340 IC from WCH, a popular USB-to-serial converter.
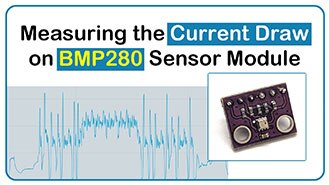
In this post, we measure the BMP280 barometric pressure sensor in Normal mode and Forced mode using the Nordic Power Profiler Kit II (PPK2).
Not all USB-C cables support data! Some only provide power, causing upload errors on boards like the Nano Flip or ESP32 microWatt. Learn how to spot the difference and test your cables to avoid connection issues in your projects.
Learn to install M3 brass heat-set inserts in 3D prints using a reliable, beginner-friendly method. Perfect for mounting PCBs or lids with strong, pro-grade results.
This tutorial shows how to verify the frequency of the clock source on a microcontroller development board. The process is similar for a range of boards, but we will use the popular Nano. This is a good exercise to do as it helps the user get a more in-depth understanding of the Nano microcontroller development board.
Co-Browse
By using the Co-Browse feature, you are agreeing to allow a support representative from DigiKey to view your browser remotely. When the Co-Browse window opens, give the session ID that is located in the toolbar to the representative.
DigiKey respects your right to privacy. For more information please see our Privacy Notice and Cookie Notice.
Yes, Continue to Co-BrowseGet fast and accurate answers from DigiKey's Technicians and Experienced Engineers on our TechForum.
Please visit the Help & Support area of our website to find information regarding ordering, shipping, delivery and more.
Registered users can track orders from their account dropdown, or click here. *Order Status may take 12 hours to update after initial order is placed.
Users can begin the returns process by starting with our Returns Page.
Quotes can be created by registered users in myLists.
Visit the Registration Page and enter the required information. You will receive an email confirmation when your registration is complete.
Orders are typically delivered to Hong Kong within 3-4 days depending on location.
Free delivery to Hong Kong on orders of HK$330 or more. A delivery charge of HK$125 will be billed on all orders less than HK$330.
UPS, FedEx or DHL freight pre-paid: CPT (Duty, customs, and taxes due at time of delivery)
Credit account for qualified institutions and businesses
Payment in Advance by Wire Transfer
![]()
![]()
![]()
![]()


More Products From Fully Authorized Partners
Average Time to Ship 1-3 Days, extra ship charges may apply. Please see product page, cart, and checkout for actual ship speed.
Incoterms: CPT (Duty, customs, and applicable VAT/Tax due at time of delivery)
For more information visit Help & Support
Thank you!
Keep an eye on your inbox for news and updates from DigiKey!
Please enter an email address

