What? You Still Don’t Know How to Solder?
One of the things that constantly surprises me is how few of the younger electronics engineers I meet these days know how to solder. I don’t wish to cast aspersions (my throwing arm isn’t what it used to be), but I simply cannot wrap my brain around the idea of someone who designs electronic systems or works with those systems at a fundamental level (i.e., not an end-user), but who cannot whip out a soldering iron to add a jumper wire or replace a bad component.
Learning the hard way
I flatter myself that I have a fair soldering hand, but it took a lot of time and effort to learn the art. Far be it for me to compare myself to Vincent van Gogh, except to note that we were both largely self-taught; him with respect to painting sunflowers and your humble narrator when it comes to soldering.
I started my soldering journey way back in the mists of time we used to call 1969. I was 12 years old that year, and my parents took out subscriptions to a couple of monthly electronics and wireless hobby magazines on my behalf. At the beginning of each month, as soon as I got out of school, I raced down to the newsagents in the little group of shops at the bottom of our road to see if the new issues had arrived. When either of these magazines was there to greet me, I sat on the wall outside the newsagents skimming through the articles looking for something small I could build, and then I made my way to the nearest electronics store a couple of miles away to purchase the components I’d need.
I no longer recall from whence I obtained the soldering iron I was using at that time, but I’m prepared to bet that it was nothing like you are thinking. It had a wooden handle wrapped around a 1/4" metal shaft. At the far end of the shaft was the tip, which was a cylinder of metal about 1” in diameter and 2” long with a conical tip at the end. I had to heat the metal end over a ring on the gas stove in the kitchen until it glowed red hot, then run up the stairs to my bedroom and solder as many joints as I could before the iron grew too cold to use.
Not surprisingly, the result of all this was that I saw more than my fair share of dry solder joints. These occur when the solder doesn’t flow properly due to dirt—possibly in the form of an oxide layer on one or both pieces being joined—and/or insufficient heat. The result can be a joint that appears to have been made but is in fact an open circuit, a high resistance connection, or—worst of all—an intermittent connection.
Another problem with using my monstrous iron was splatters of solder that created short circuits between adjacent tracks on the small pieces of stripboard upon which I built my projects. Some of these were hair-thin and tricky to detect without the aid of a magnifying glass. On the bright side, as a result of all this, I gained a lot of self-paced (perhaps “self-induced” would be more apposite) training with respect to debugging and fault-finding my circuits. This experience was to stand me in good stead in the years to come.
There’s an easier way to learn
If you want to learn how to solder, the first thing you are going to need is a soldering iron and some solder. The second thing you’re going to need is something to solder. Truth be told, a little instruction from someone who knows what they are doing would save a lot of time, but, failing that, there are lots of tutorials, how-to videos, and other resources available on the internet, including DigiKey’s own How to Solder and How to Solder Through-Hole Components videos.
When it comes to soldering irons, there are many options to choose from. For small jobs, I often use a stand-alone device like the TOL-14456 soldering iron from SparkFun Electronics. For larger tasks that are going to involve a lot of soldering, I will typically turn to my soldering station. A good starting point for a beginner would be something like the AO469 soldering station from SRA Soldering Products (Figure 1).
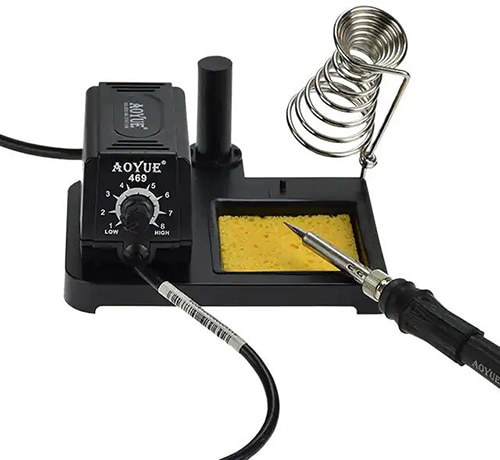 Figure 1: The AO469 is a high-performance soldering iron equipped with a fast-acting PTC ceramic heater suitable for beginner and advanced soldering. The separate tip and heater design offers easy tip replacement. (Image source: SRA Soldering Products)
The next thing you’re going to need is some solder. I grew up using traditional tin-lead solder with a ratio of 60% tin and 40% lead (hence the fact that it’s usually marked 60/40). Another common ratio is 63% tin and 37% lead, commonly described as “Sn63Pb37 (63/37),” where ‘Sn’ and ‘Pb” are the chemical symbols for tin and lead, respectively. With a melting temperature starting around 360°F, this form of solder is easy to work with.
In 2006, a European Union (EU) directive banned the use of solder-containing lead in most consumer electronics. Other countries followed suit. Unfortunately, lead-free solder—such as a tin-silver-copper alloy—requires a higher temperature and is a little harder to work with. As a result, it’s probably better for beginners to start with a tin-lead solder (just don’t breathe in the fumes when you’re soldering).
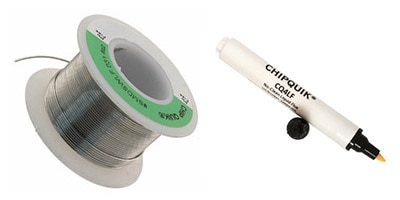
Solder comes in a variety of shapes and sizes. What we are interested in here is solder wire with a flux core. Flux helps to clean the joint and make the solder flow. Solder wire comes in a wide range of diameters. I personally prefer to work with something close to 1 millimeter (mm) in diameter.
If you are planning on doing a fair amount of soldering, a good option would be something like the 24-6337-0039 spool from Kester Solder. Weighing in at 1 pound (lb), this will keep you going for a long, long time.
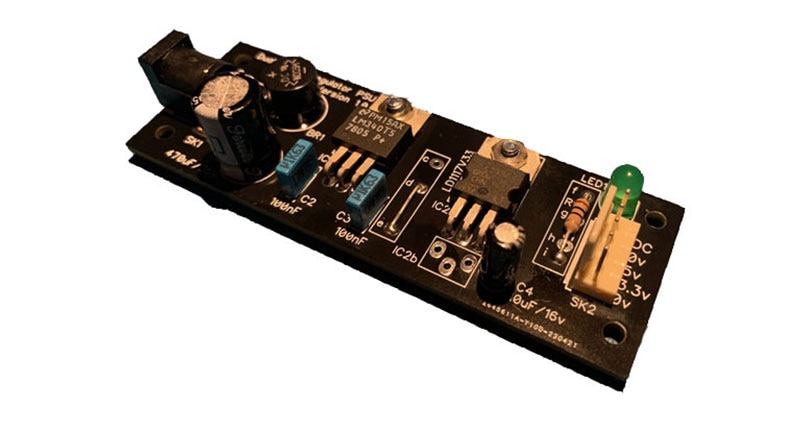
Last, but certainly not least, you’re going to need something to solder. In my case, as discussed at the beginning of this blog, I started with the small pieces of stripboard and components that I used to build the simple projects presented in the hobbyist magazines. A slightly more direct approach is to purchase a special soldering training kit that includes a printed circuit board (aka PCB or pc board) and accompanying components, such as the SMDPST120 training board from Chip Quik, Inc (Figure 2).
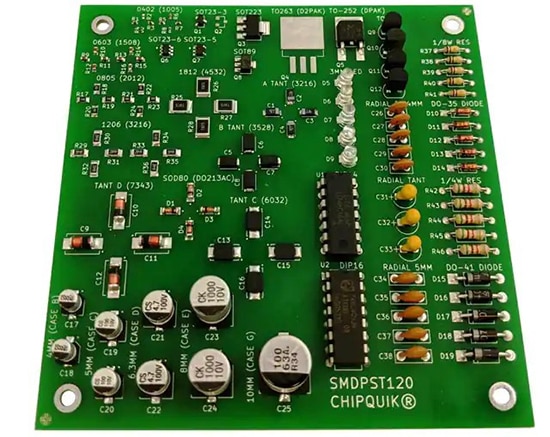 Figure 2: The SMDPST120 double-sided practice pc board comes with an assortment of 120 surface mount devices and leaded through-hole components. The footprints for the components are clearly marked on the board. (Image source: Chip Quik, Inc.)
Personally, I’d start with the discrete lead through-hole (LTH) components like resistors, capacitors, and diodes. I’d then move on to the LTH integrated circuits (ICs) presented in dual-in-line packages (DIPs or DILs). Next, I’d start to look at the surface mount devices (SMDs), commencing with the larger discrete, two-terminal devices, working down to the smaller packages, and ending up with the integrated circuits.
Conclusion
Some people think that electronics engineers don’t need to know how to solder. Indeed, some engineers have a “We’ll leave that to the technicians” mentality. It’s also true that some companies have a policy that only technicians trained in the art of soldering should be let loose near a soldering iron. Having said this, there’s a world of difference between not being allowed to do something and not knowing how to do that thing. Quite apart from anything else, the act of learning how to solder also teaches you what good and bad solder joints look like and the sorts of problems that can ensue from bad joints, all of which can be invaluable when it comes to debugging a faulty piece of equipment.
There is, of course, a lot more to soldering than we’ve covered here. For example, suppose you solder a polarized component (i.e., a component that can be connected into a circuit in only one direction) such as a diode the wrong way round? How do you “un-solder” that component? There are also a lot of little tips and tricks that can make your life a lot easier, but we’ll save all of those points for another time. For now, as always, I welcome your comments, questions, and suggestions.
Recommended Viewing
2: How to Solder Through-Hole Components videos.

Have questions or comments? Continue the conversation on TechForum, DigiKey's online community and technical resource.
Visit TechForum


