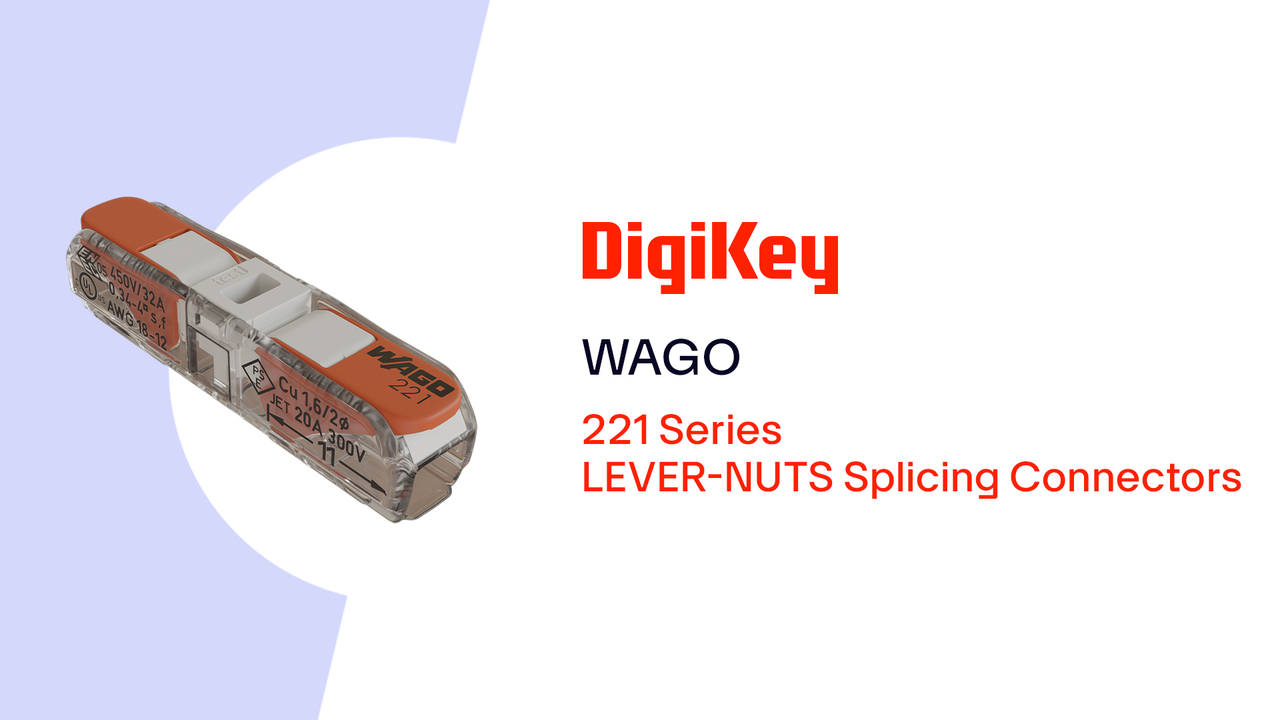
Sinker’s Ice Fishing House/Shanty - LED Upgrade
Hi, and welcome to the first of a few of my Sinker’s Ice House Upgrade blogs. Just who is “Sinker”? Well, that’s my nickname, and it might have something to do with me accidentally dropping stuff down the ice hole.
 (Image source: Jerome Bakke, DigiKey Electronics)
And yes, that is my Green Hornet, in the lower left of the image above, from the film Grumpy Old Men (best movie ever made in my opinion). I do fish with it. If it’s good enough for Max Goldman to use, it’s good enough for me. It’s wood, so it floats if I “accidentally” drop it in the hole.
Anyway, on with the blog:
I purchased an older model Ice Castle ice fishing shanty a couple of years ago and decided to make some additions and improvements to what was already in place.
I’ve been part of the DigiKey technical and product team for about 22 years. I have had the opportunity to see all kinds of new technology, which I like to use in many improvement projects, both in my ice shanty and at home.
The first improvement to my ice shanty was to modify the current 12 VDC power distribution system to add lighting to the six ice fishing holes in the floor of my shanty, each controlled separately. There was 12 VDC power already being supplied to the under cabinet light and car stereo, which was spliced using a standard wire nut. So, I replaced that using a WAGO 2773 Series PUSHWIRE® splice, as shown below. One power supply wire in, one wire out to power the existing stereo and light, and one wire out to my new distribution panel. I used this series as I have no plans on ever needing to redo this splice.
 (Image source: Jerome Bakke, DigiKey Electronics)
DigiKey stocks these in 2-8 wire entries and in multiple package types down to single pieces.
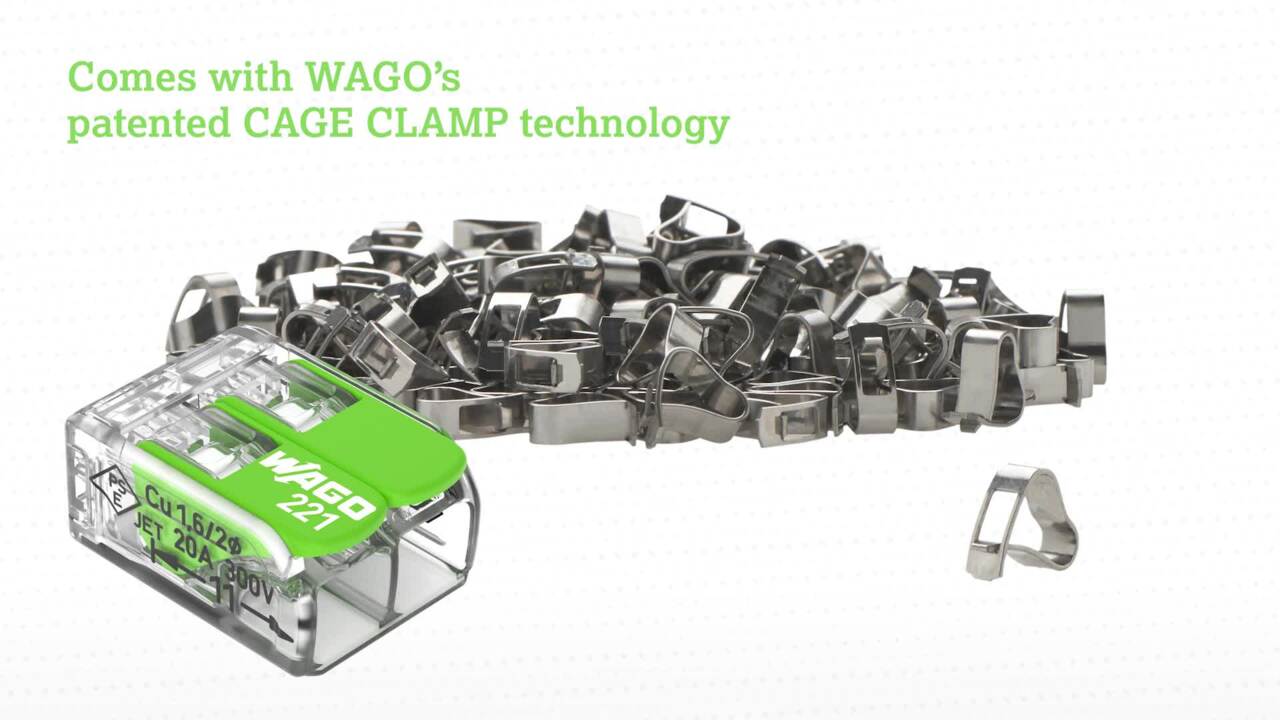
I then took the supply power wire for the stereo and light and broke it out using a WAGO 221 series Lever Nuts®. I used this series as it will be easy to undo any of the connections if I ever need to replace the light or the stereo in the future.
 (Image source: Jerome Bakke, DigiKey Electronics)
We carry these in 2, 3, and 5 position butt splices, as well as an inline splice, again in multiple package types, down to the single piece of each. These are the cat’s meow when it comes to most wiring projects! WAGO even makes these in an ECO-Friendly Green Range 221. These are made of partially bio-circular and recycled plastics and are packaged in grass paper packaging.
The other power wire goes to a WAGO 862-504 chassis-mount terminal block, which I am using to break out power to all six switches that control each of the fishing hole lights. I have a couple of extra wires for a couple more applications that I will go over in another blog.
 (Image source: Jerome Bakke, DigiKey Electronics)
I didn’t order enough Jumper bars (circled), so I cheated a bit and used a chunk of wire to substitute as a jumper for now. These 862 series blocks are nice because they have a push-button termination with a very secure connection but will allow me to remove and replace a connection if needed, which I did. They are also relatively small and very easy to use in tight spaces.
We stock the terminal blocks in two to five positions per level in both black and white.
862 terminal blocks: Panel Mount | Terminal Blocks | Electronic Components Distributor DigiKey
862-482 Jumper: 862-482 WAGO Corporation | Connectors, Interconnects | DigiKey
I did the same thing for the negative side of my power in this 12 VDC application.
Under the floor next to each fishing hole, I installed a 3 LED module from TT Electronics. These come in multiple colors and in strips from the MFG, up to 30 modules in line. There is about 1 ¾ inches of wire between each module, but they can be ordered from DigiKey down to single modules. These are already set up for 12 VDC usage, so you don’t have to calculate or install a current limiting resistor, which makes them pretty handy to plug and play.
 (Image source: Jerome Bakke, DigiKey Electronics)
I used blue (because I like blue and thought it looked cool), but we also stock these in green, red, white, and yellow.
 (Image source: Jerome Bakke, DigiKey Electronics)
I used WAGO 221-2401 inline splices to make the connections below the floor of the ice shanty to the LED modules. These are really quick and easy, especially when working in tight spaces or not having enough wire to make a parallel connection with a wire nut or similar. If you do a lot of DIY wiring, you might be interested in one of the several kits that DigiKey offers from WAGO. If nothing else, it’s nice to have a handful of several types on hand in the shop or junk drawer.
 (Image source: Jerome Bakke, DigiKey Electronics)
I encapsulated these connections using WAGO Gelboxes, similar to the image above. DigiKey stocks these for both the inline and parallel 221 series splices.
There are more upgrades to my shanty that I will be blogging about, but this is where it all started.
Below is an evening picture of my shanty with all the fishing hole lights on.
 (Image source: Jerome Bakke, DigiKey Electronics)
Now, I can watch my bobber while I’m fishing at night without having the interior lights on, and there should be a blue light emanating all the way around the outside of my shanty.
Did I need to do this, no, but I’ll have the coolest ice shanty on the lake!
If you are a DIY’er, I would suggest throwing a few of these 221 series lever splices and 2773 series PUSHWIRE splices in your toolbox or junk drawer. DigiKey can ship in-stock parts the same day you order them, but how fast you get them will be up to the shipping method of your choice. Get some to have on hand sooner than later because even next-day air shipping is a day too late when you need them now!
About this author

Jerome Bakke, Senior Product Manager at DigiKey and has been with the company since 1999 (with a 3-year break). He worked in Tech support with the last 16 years being in Product Management. Prior to that he was an Electronic Technician in the US Air Force for 9 years. He holds an associate degree in both Electronics and Business Management. Outside of work, he is currently the commander of his local American Legion and enjoys ice fishing, motorcycling, gardening and spending time with family and friends.

Have questions or comments? Continue the conversation on TechForum, DigiKey's online community and technical resource.
Visit TechForumMore Blogs from this Author